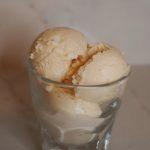
Blood Orange Ice Cream Recipe
This blood orange ice cream is dense, creamy, and intensely citrus-forward with no icy texture. Skim milk powder absorbs free water, zest gets steeped into warm cream for maximum flavor, and juice is added only after cooling to protect every bit of that bright, orange creamsicle taste. Works with any citrus fruit.
Servings: 12 servings (3 pints)
Calories: 217kcal
Equipment
- Microplane Zester
- Citrus Juicer
- 2-Quart Saucepan
- Whisk
- Ice Bath
- Instant-Read Thermometer
- Fine-Mesh Sieve
- Compressor-Style Ice Cream Maker
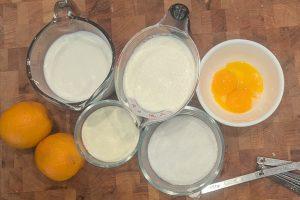
Ingredients
- 150 g cane sugar
- 0.3 g guar gum ⅛ tsp, optional
- 60 g skim milk powder
- 400 g whole milk 3.25% fat
- 400 g heavy cream 36% fat
- 42 g egg yolks from 3 medium eggs
- 6 g blood orange zest 1 tbsp, from 2 oranges
- 60 g blood orange juice ¼ cup, from 2 oranges
Instructions
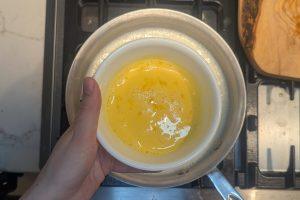
- Portion out all of your ingredients so you're ready to go. Crack 42 g egg yolks into a small bowl and whisk well. Set aside.
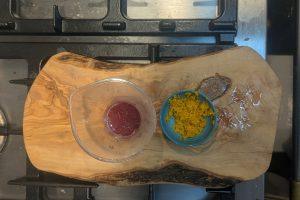
- Zest, then juice 2 blood oranges. This should yield 6 g blood orange zest (about 1 tbsp) and 60 g blood orange juice (about ¼ cup). Set aside.
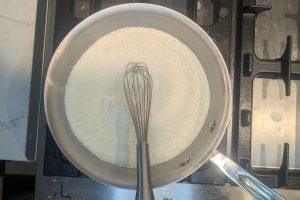
- Grab a saucepan that holds at least 2 quarts of liquid. Pour in 150 g cane sugar, then whisk in 0.3 g guar gum (if using) to evenly distribute it.

- Add 60 g skim milk powder and whisk well to combine.
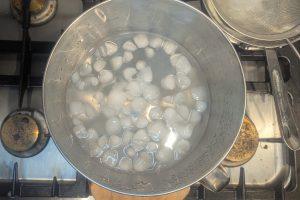
- Prepare an ice bath by filling a large bowl with cold water and several handfuls of ice cubes. Set aside.
- Pour 400 g whole milk into the pan with the sugar/SMP mixture, and whisk until the sugar/SMP have mostly dissolved.
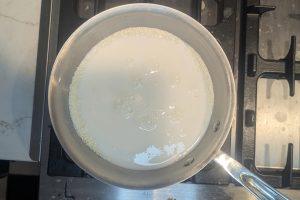
- Add 400 g heavy cream and whisk again until the mixture feels smooth.
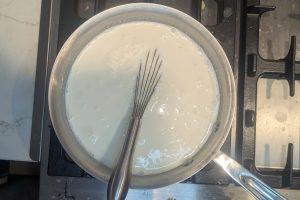
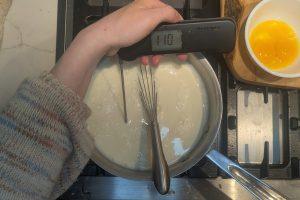
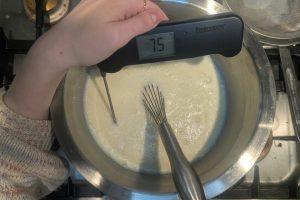
- Gently heat the pot over medium-low, whisking constantly, until it reaches 110°F on an instant-read thermometer. Once it reaches temperature, immediately remove it from the heat.
- Take a ladleful of the warm cream mixture, and stream it slowly into the egg yolks, whisking vigorously to prevent curdling.
- Once the mixture is smooth, pour the egg/cream mixture back into the saucepan, and whisk well until the liquid takes on a yellowish hue.

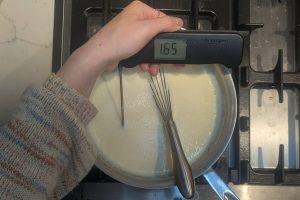
- Return the pan to medium-low heat, and continue warming, whisking constantly, until it reaches 165°F. Once at temperature, immediately remove it from the heat.
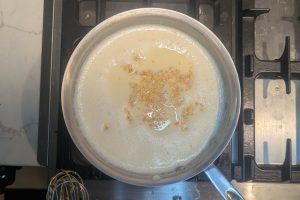
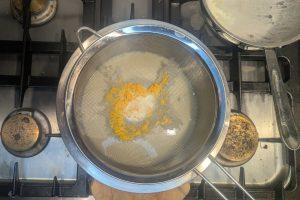
- Stir in 6 g blood orange zest, cover, and let steep (off the heat!) for 10 minutes.
- Meanwhile, set a fine-mesh sieve over the smaller bowl you set aside for the ice bath.
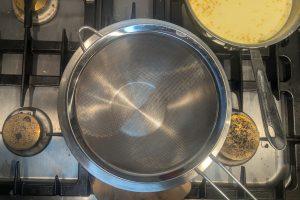
- Once steeped, strain the hot custard into the bowl.
- Place the bowl into the ice bath and whisk often for about 15 minutes, or until the custard reaches about 75°F.
- Add 60 g blood orange juice to the custard and whisk to combine.
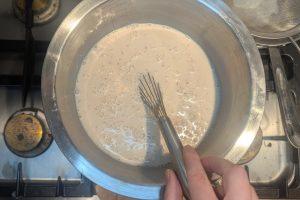
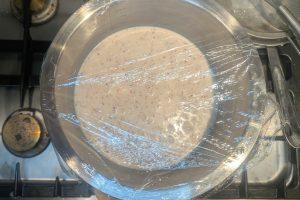
- Cover the bowl with plastic wrap and place it in the refrigerator for 4-6 hours, or overnight, to age and chill.
- Once the custard has chilled, pre-chill your ice cream maker according to the instructions. Pour in the custard with the machine running. Allow the custard to churn according to the machine's instructions. This will take anywhere from 20-45 minutes, depending on the machine.
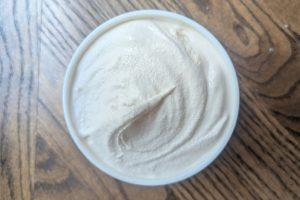
- Scoop the ice cream into pints with wax paper pressed onto the surface to prevent ice crystals, and set in the freezer for at least 4 hours, or overnight, to fully set and age.
To get the maximum yield, roll the oranges on the counter with firm pressure from your palms. And always zest before juicing; it's hard to zest floppy fruit.
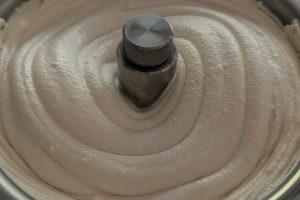
You'll know it's ready when the machine starts to slow down and struggle, and the ice cream has a soft-serve consistency. Ideal draw temperature is 22-26°F.
Video
Notes
Yield: Approx. 3 pints. A serving is ½ cup.
Stabilization Tips:

- You can swap the guar gum for your favorite stabilizer or stabilizer blend, or leave it out completely. If leaving it out, consider adding an extra egg yolk.
- Whisk the guar gum into the sugar to prevent clumping.
- Get all of the ingredients measured out, and set up your ice bath before you start cooking!
- If you don’t have a thermometer (get one!), the milk will start to steam when it’s close to 110°F, and the custard will coat the back of a spoon when it’s close to 165°F.
- Strain the custard after cooking to remove any egg bits, and also to remove the orange zest for a creamier texture.
- Let the base rest in the fridge overnight to thoroughly chill and develop flavor. It will churn faster.
- Pre-chill your compressor for 10 minutes for a faster churn.
- This ice cream has the best texture after an overnight hardening in the freezer.