
There is a world of difference between a no-churn recipe and a true, high-end cooked custard. If you’ve invested in a compressor ice cream maker, you’re likely looking for that specific, ultra-premium texture that only a bit of science can provide. I’m often asked where to start when you’re ready to move beyond basic recipes, and this vanilla bean honey ice cream is my answer. It’s the perfect entry-level technical scoop–sophisticated enough to feel fancy, but forgiving enough to be your very first batch. I’ve done the heavy lifting with the formulation to ensure it’s perfectly balanced for a compressor’s power, resulting in a pint that is as consistent as it is rich and creamy.
Why You’ll Love It:
Scientifically Balanced
Formulated using professional calculation software to create the perfect scoop.
Compressor Optimized
Specifically tested to thrive in high-power home machines like the Lello 4080.
Texture First
Uses a hybrid of egg yolks and a tiny hint of guar gum for a chewy texture and slow melt.
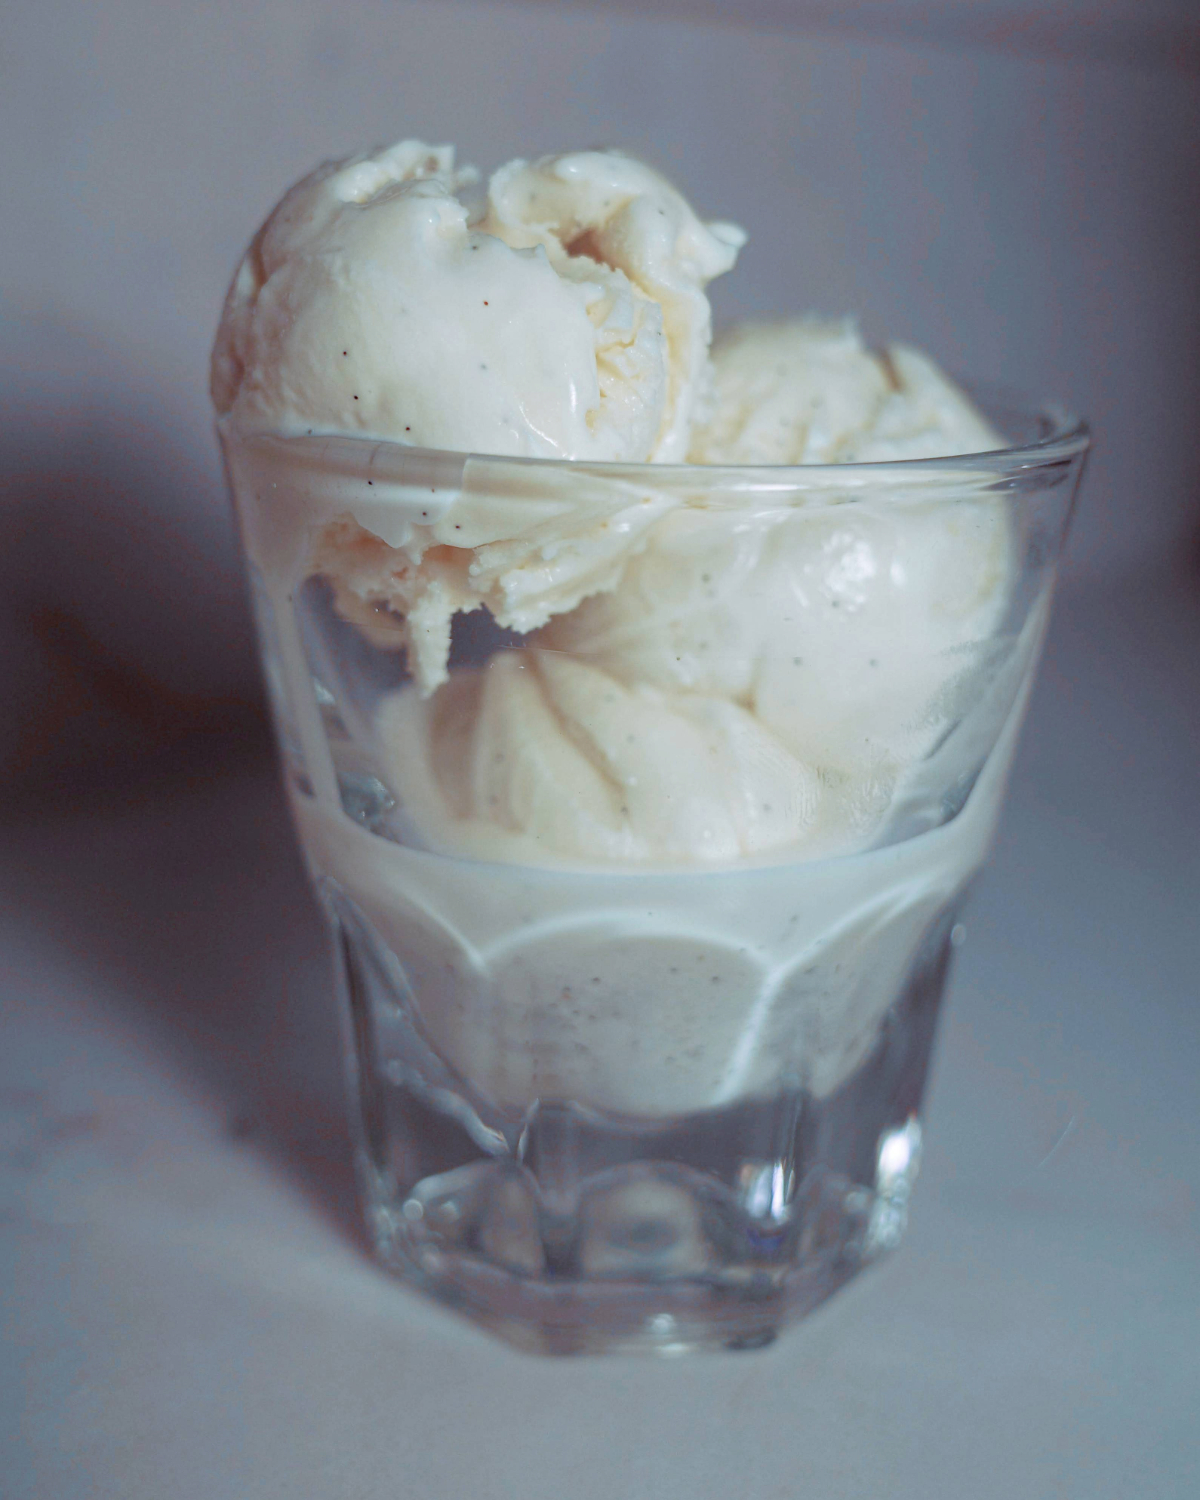
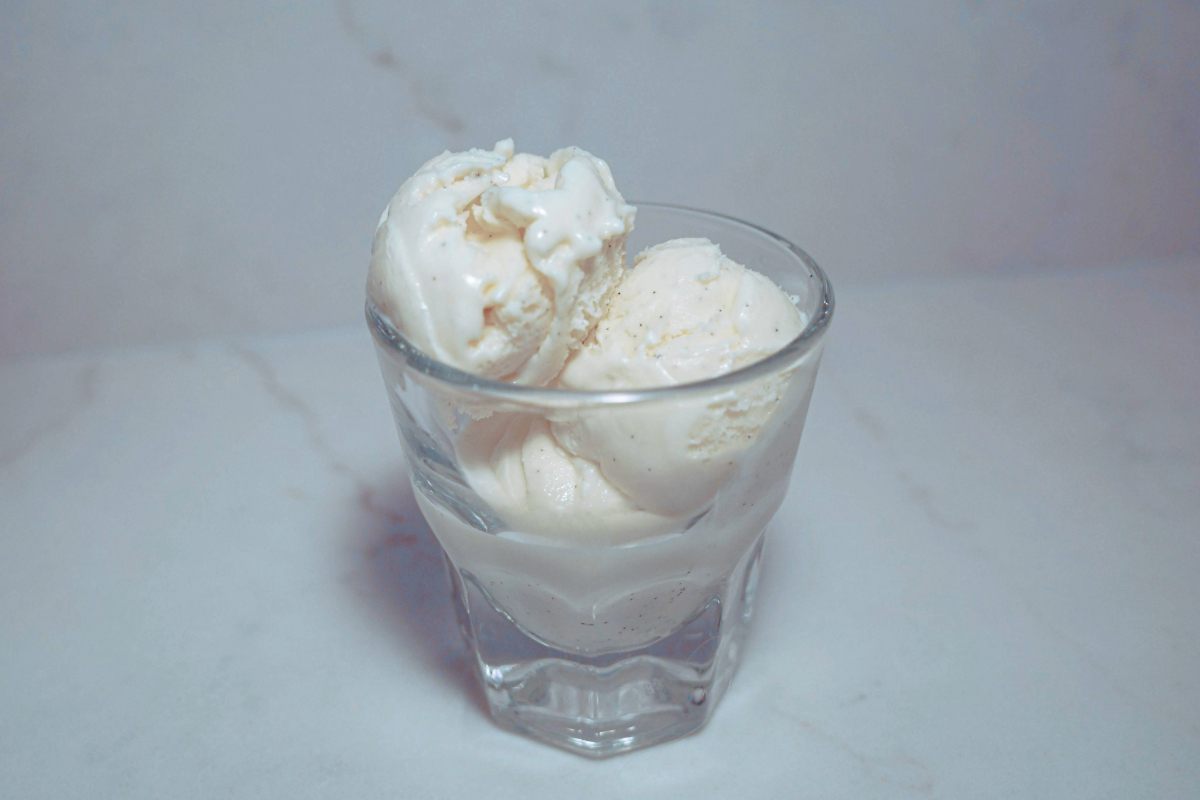
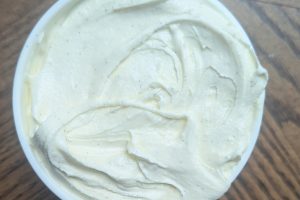
French Vanilla Ice Cream with Honey
I spent a long time trying to get the perfect balance of floral honey and warm vanilla without this French vanilla ice cream turning rock hard. After running the numbers through my favorite ice cream calculator (not sponsored) and doing a few test churns, I’ve landed on this: a silky, custard-style scoop that feels fancy but is actually very forgiving to make.
For the fellow nerds, here are the final specs for this batch.
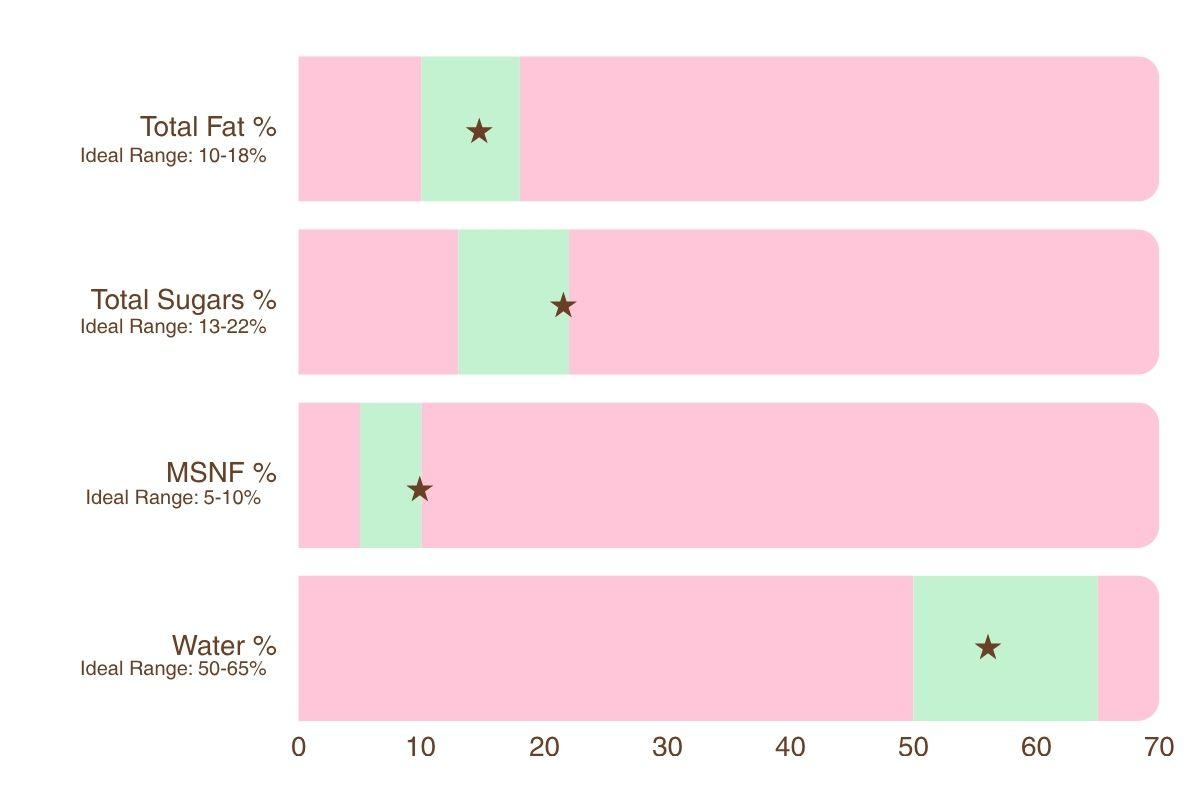
- Total Fat: 16%
- Total Sugars: 22%
- MSNF: 10%
- Water: 56%
- POD: 173.75
If you want to understand what these numbers mean and how to adjust them for your own recipes, my base ratio guide covers it all.
I don’t often buy vanilla beans, so I used an extract-grade bean for those gorgeous flecks. I’m of the opinion that any vanilla bean would work great here. A teaspoon of vanilla bean paste or regular vanilla extract is also great for flavor in a pinch.
Why Honey Changes the Freezing Point
The key to a great honey ice cream is replacing some of the cane sugar with honey, rather than just adding honey to a premade base. This ensures the ice cream isn’t overly sweet.
Honey is an invert sugar, meaning it depresses the freezing point (PAC) of the ice cream further, leading to a softer scoop. You have to be careful not to use too much honey, though, or the ice cream won’t freeze solid (I discovered that in early testing). That’s why I opted for a mixture of both. Again, this is an ingredient where I think any variety of honey would be delicious, so use what you have. I used a local spring honey for this batch, but I usually prefer autumn for a deeper flavor.
Vanilla Bean Honey Ice Cream Recipe
Ingredients
- 120 g cane sugar
- 0.3 g guar gum optional (⅛ tsp)
- 60 g skim milk powder
- 400 g whole milk (3.25% fat)
- 400 g heavy cream (36% fat)
- 30 g honey
- 1 vanilla bean
- 42 g egg yolks (from 3 medium eggs)
Equipment
- 2-Quart Saucepan
- Whisk
- Fine-Mesh Sieve
- Ice Bath
- Compressor-Style Ice Cream Maker (I used the Lello 4080)
Video

Method
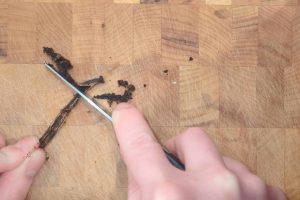
- Slice 1 vanilla bean in half and carefully scrape out the caviar. Set aside.
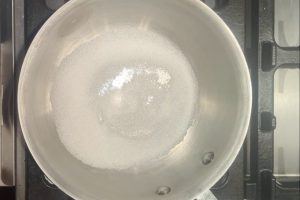
- Grab a saucepan that holds at least 2 quarts of liquid. Pour in 120 g cane sugar, then whisk in 0.3 g guar gum (if using) to evenly distribute it.
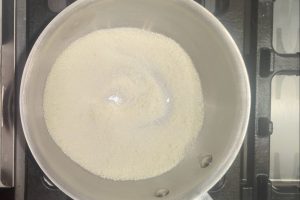
- Add 60 g skim milk powder and whisk well to combine.
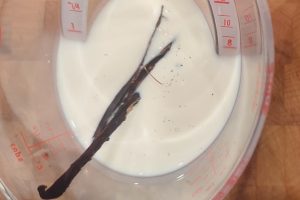
- Add the vanilla bean husk to 400 g whole milk. Set the caviar aside.
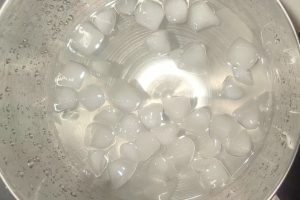
- Prepare an ice bath by filling a large bowl with cold water and several handfuls of ice cubes.
- Pour 400 g whole milk (with the vanilla bean husk) into the pan with the sugar/SMP mixture, and whisk until the sugar/SMP have mostly dissolved.
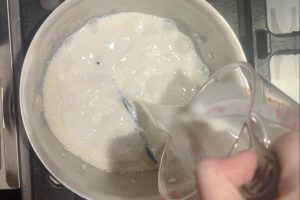
- Add 400 g heavy cream and whisk again until the mixture feels smooth.
- Stir in 30 g honey.
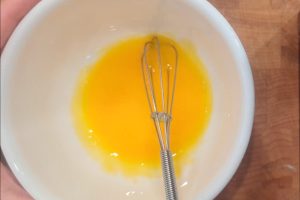
- Crack 42 g egg yolks into a small bowl and whisk well. Set aside.
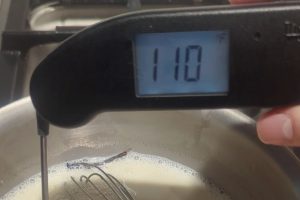
- Gently heat the pot over medium-low, whisking constantly, until it reaches 110°F on an instant-read thermometer. Once it reaches temperature, immediately remove it from the heat.
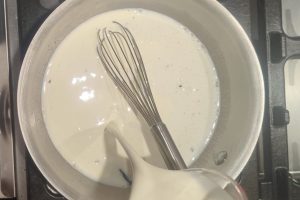
- Take a ladleful of the warm cream mixture, and stream it slowly into the egg yolks, whisking vigorously to prevent curdling.
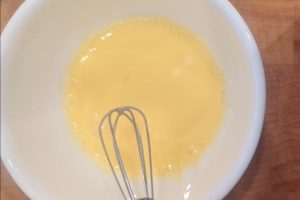
- Once the mixture is smooth, pour the egg/cream mixture back into the saucepan, and whisk well until the liquid takes on a yellowish hue.
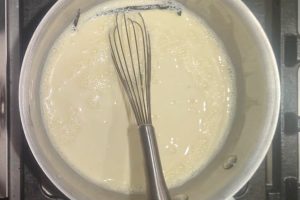
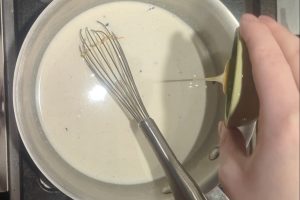
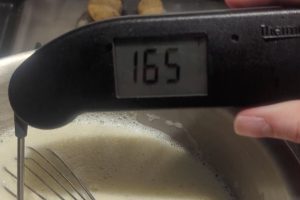
- Return the pan to medium-low heat, and continue warming, whisking constantly, until it reaches 165°F. Once at temperature, immediately remove it from the heat.
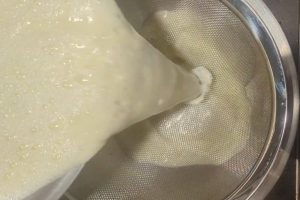
- Set a fine-mesh sieve over the smaller bowl you set aside for the ice bath. Strain the hot custard into the bowl.
- Place the bowl into the ice bath and whisk often for about 15 minutes, or until the custard reaches about 75°F.
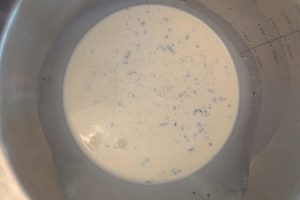
- Add the vanilla bean caviar to the mixture, and stir vigorously.
- Cover the bowl with plastic wrap and place it in the refrigerator for 4-6 hours, or overnight, to age and chill.
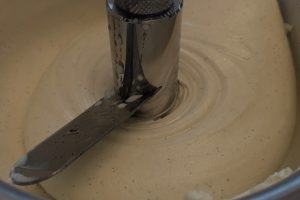
- Once the custard has chilled, pre-chill your ice cream maker according to the instructions. Pour in the custard with the machine running.
- Allow the custard to churn according to the machine's instructions. This will take anywhere from 20-45 minutes, depending on the machine.
- Scoop the ice cream into pints with wax paper pressed onto the surface to prevent ice crystals, and set in the freezer for at least 4 hours, or overnight, to fully set and age.
Notes
- I like guar gum because it’s not heat-activated and it doesn’t leave a sticky film in my mouth like carageenan does. You can swap for your favorite stabilizer or stabilizer blend, or leave it out completely.
- Whisking the guar gum into the sugar before adding any liquid helps it to evenly distribute without clumping, leading to a smoother base.
- The egg yolks add plenty of stabilization and emulsification here. You can add an extra egg yolk if skipping the guar gum, but I find adding too many yolks dulls the flavor of the honey and vanilla.
- I’m not usually a mise en place gal, but it’s necessary for ice cream. Things move quickly, and you need to be stirring the custard the entire time to prevent the dairy from scorching. Get all of the ingredients measured out, and set up your ice bath before you start cooking!
- If you don’t have a thermometer (get one!), the milk will start to steam when it’s close to 110°F, and the custard will coat the back of a spoon when it’s close to 165°F.
- I always strain my custard after cooking to remove any potential cooked egg bits. They’ll ruin the flavor and texture of your ice cream if you leave them in.
- While you can churn this the same day, I highly recommend letting it rest overnight in the refrigerator. It’ll be as cold as possible, so it’ll churn faster, and the flavors will develop as it sits.
- Because this base is a dense custard, make sure your compressor has been pre-cooled for 10 minutes to ensure a fast draw time.
- The same goes for chilling after churning. You can enjoy a softer consistency the same day, but I find the texture is best after an overnight chill.
