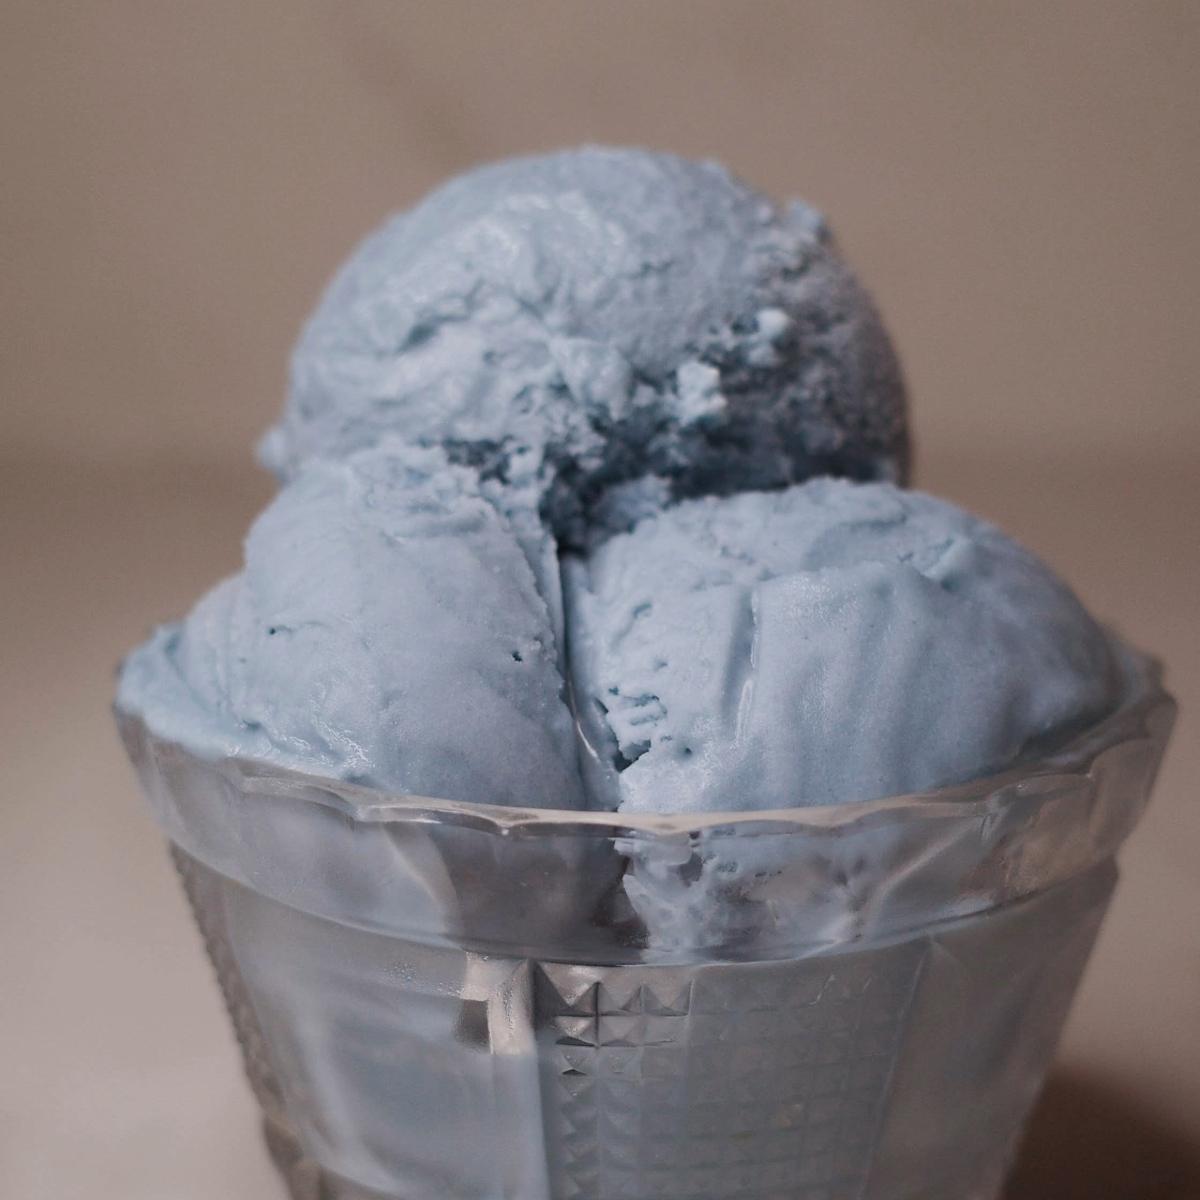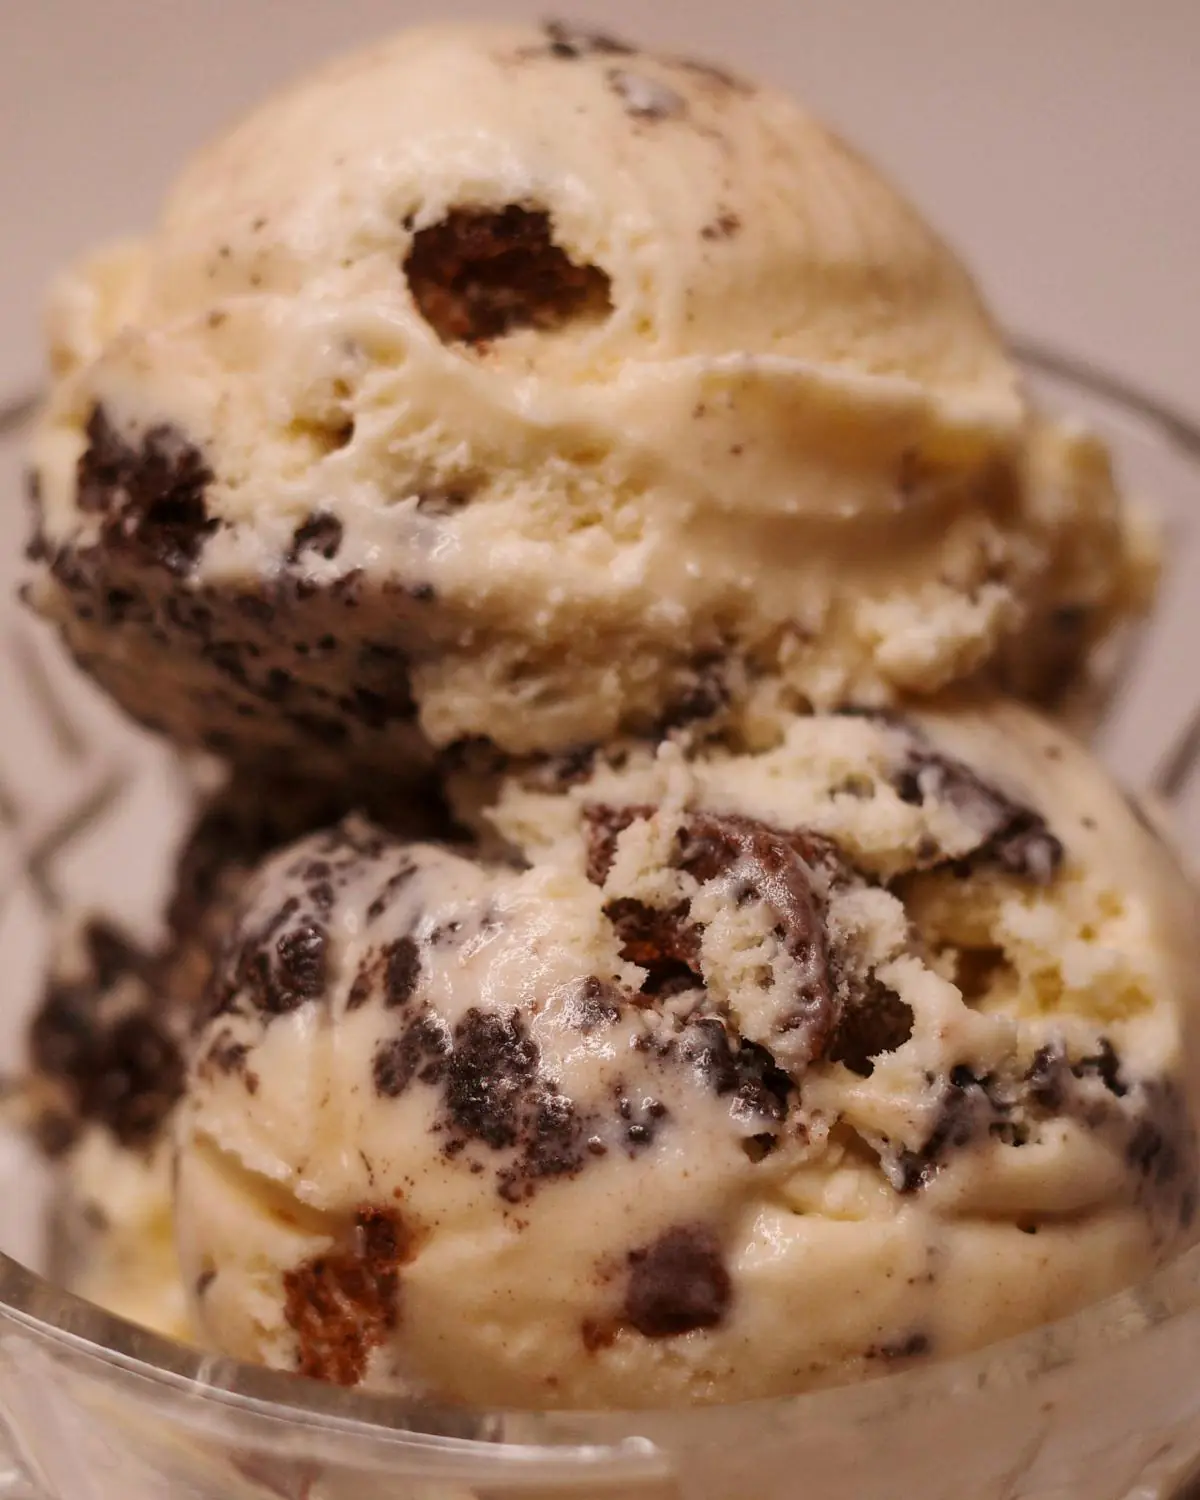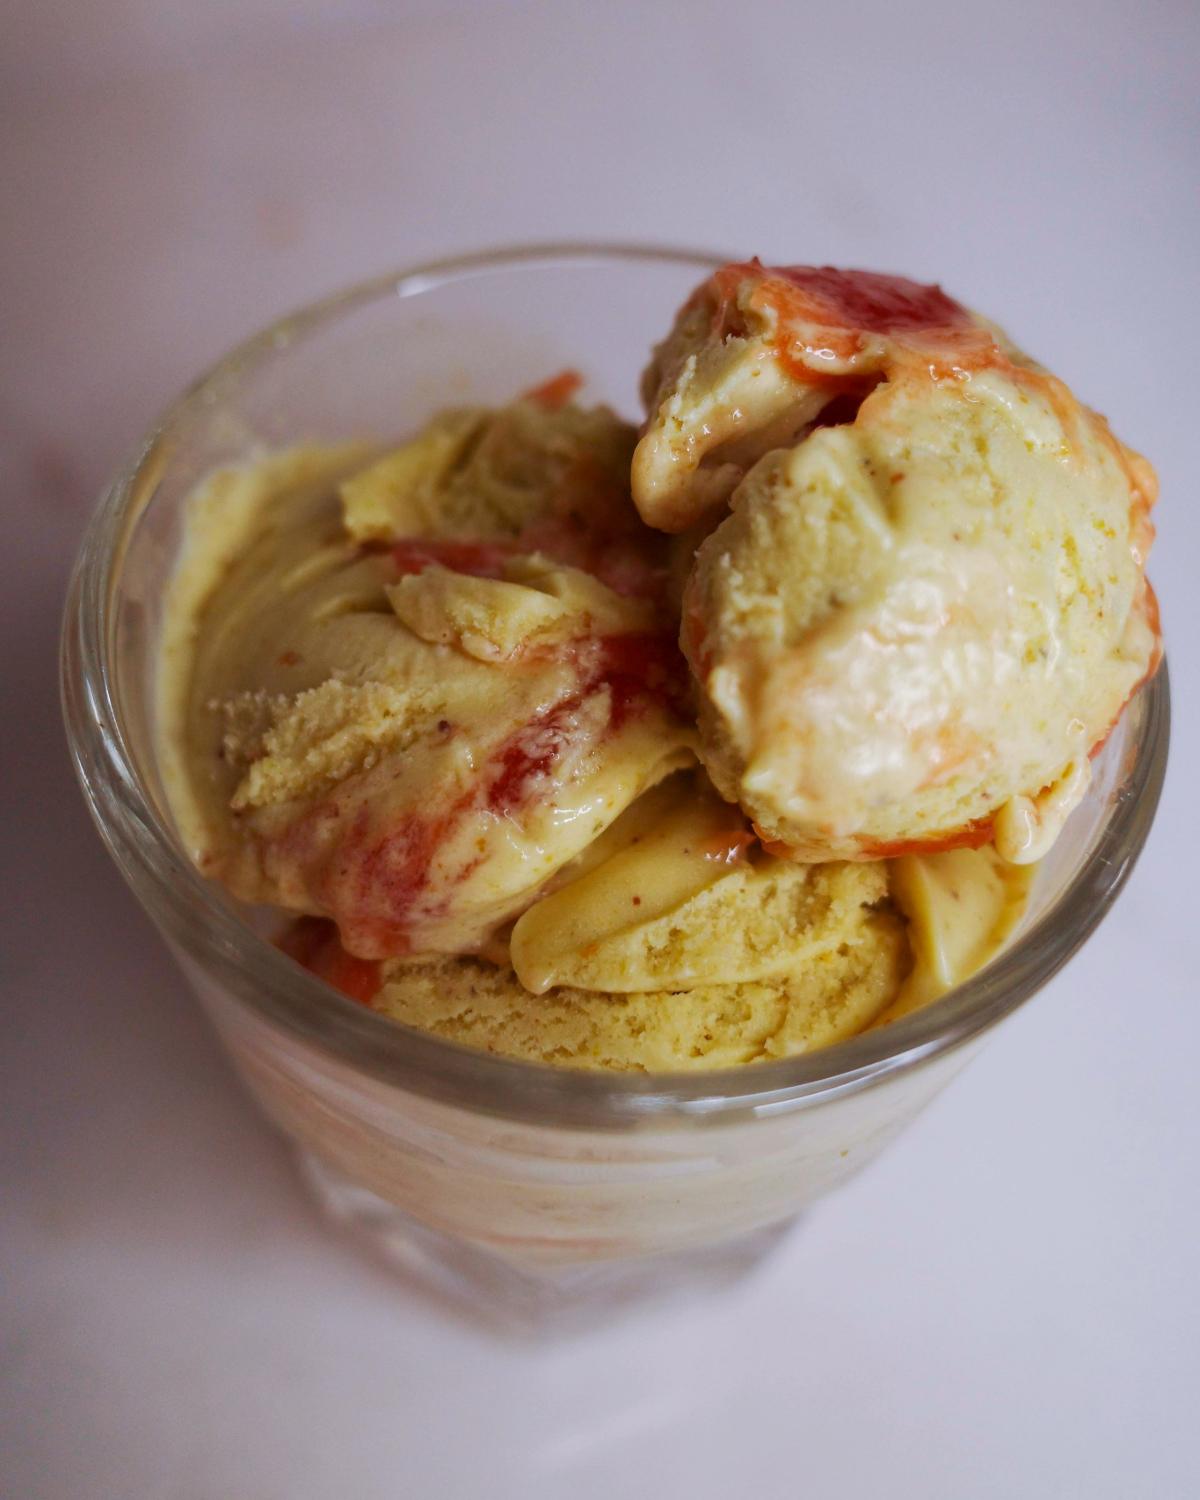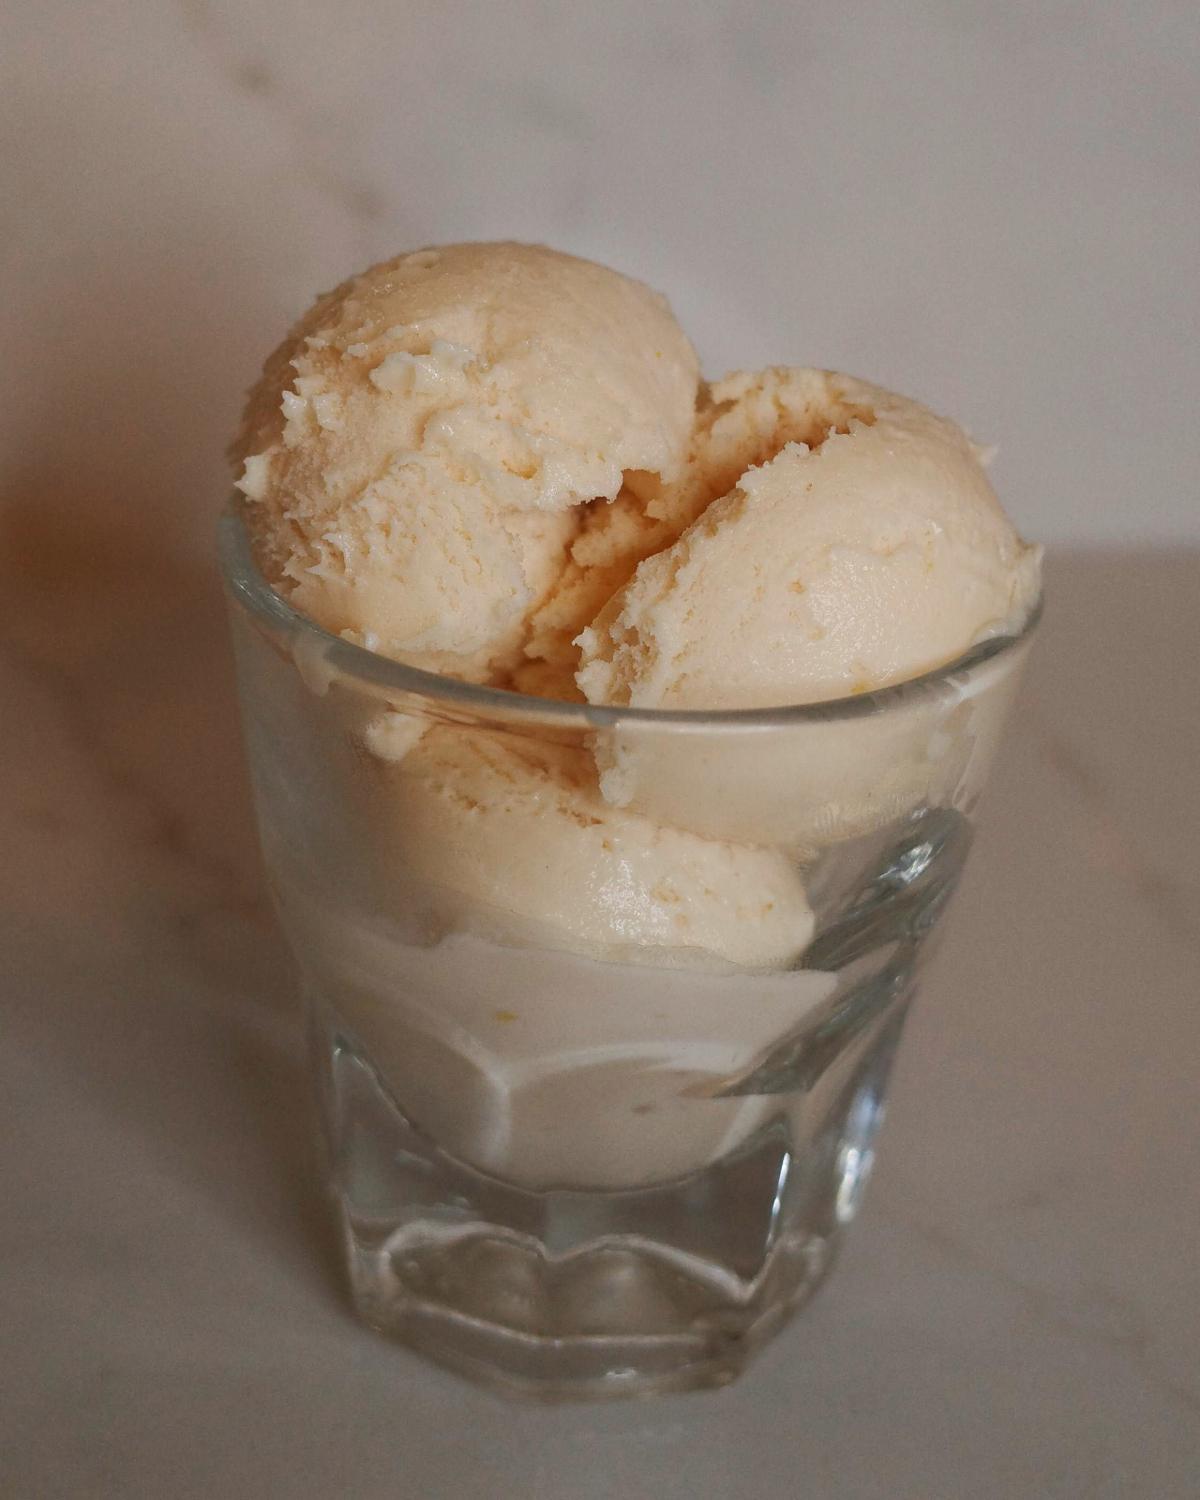
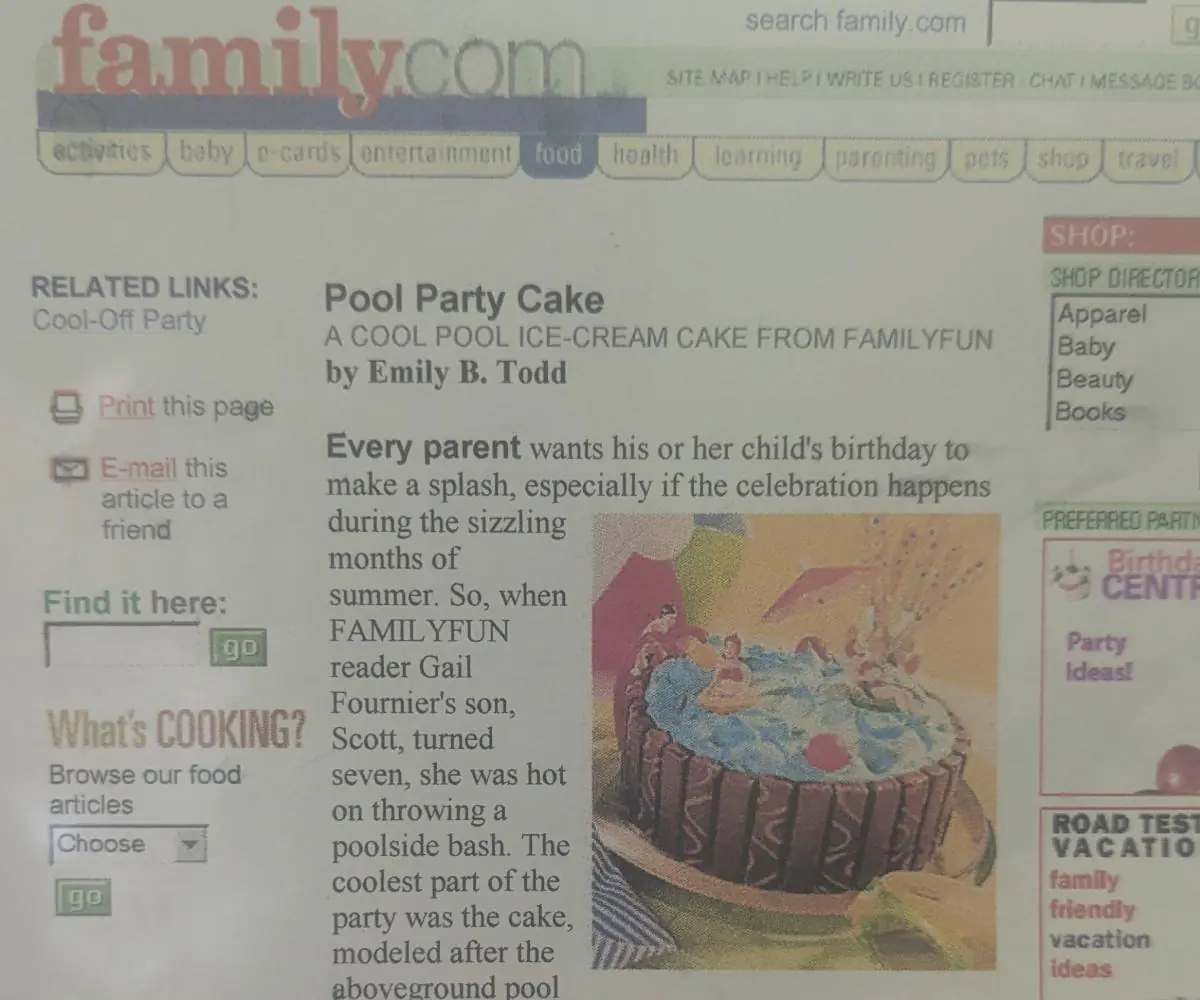
This one’s a blast from the past. My mom used to make this swimming pool ice cream cake when my sister and I were kids, and I’ve been chasing that memory ever since. The original recipe came from a FamilyFun magazine printout my mom kept in a plastic sleeve. It was credited to a reader named Gail Fournier from right here in New Hampshire. She was inspired by her family’s above-ground pool. The OG recipe is made with all store-bought ingredients, but I amped mine up with layers of my homemade copycat Vermonty Python ice cream and blue vanilla ice cream. But whether you go all store-bought, all homemade, or a combination of the two, this nostalgic pool cake will be the talk of the party.
A Nostalgic Childhood Favorite Reimagined
I haven’t been able to track down the original pool party cake recipe anywhere online. FamilyFun isn’t around anymore. And whatever issue this ran in seems to have vanished into the ether. So, what you’ll find below is my own recreation, built from my mom’s stained clipping and a whole lot of testing.
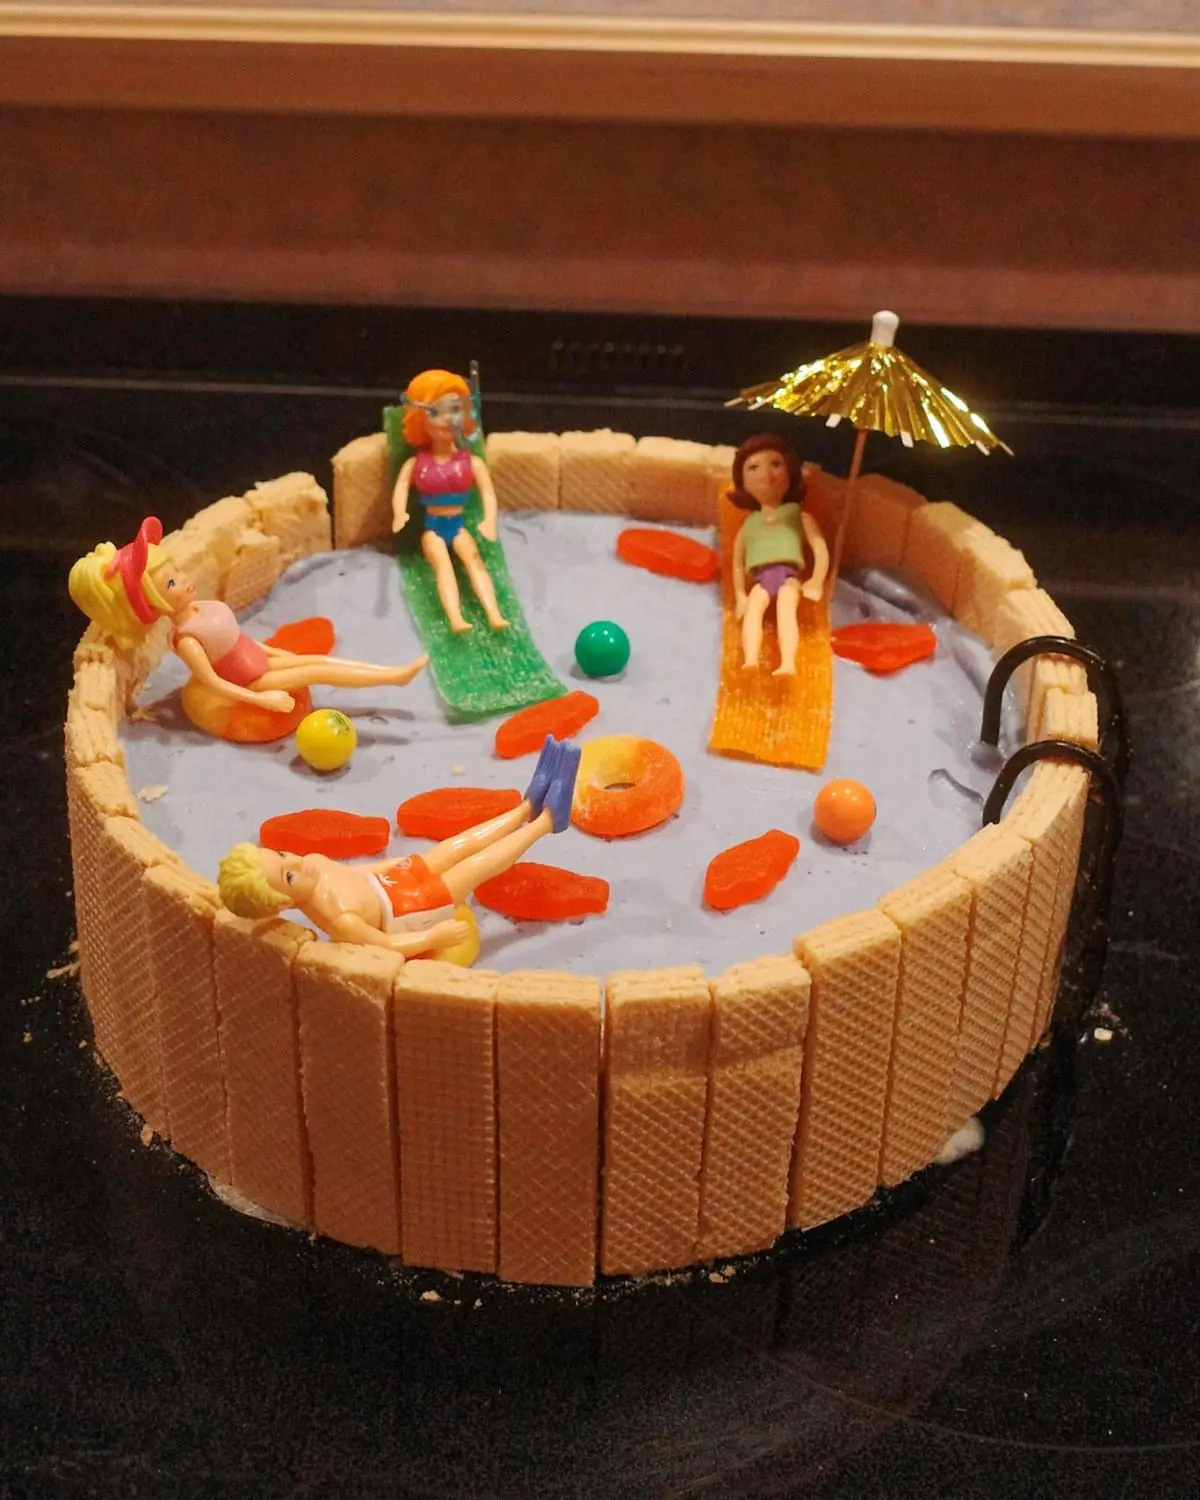
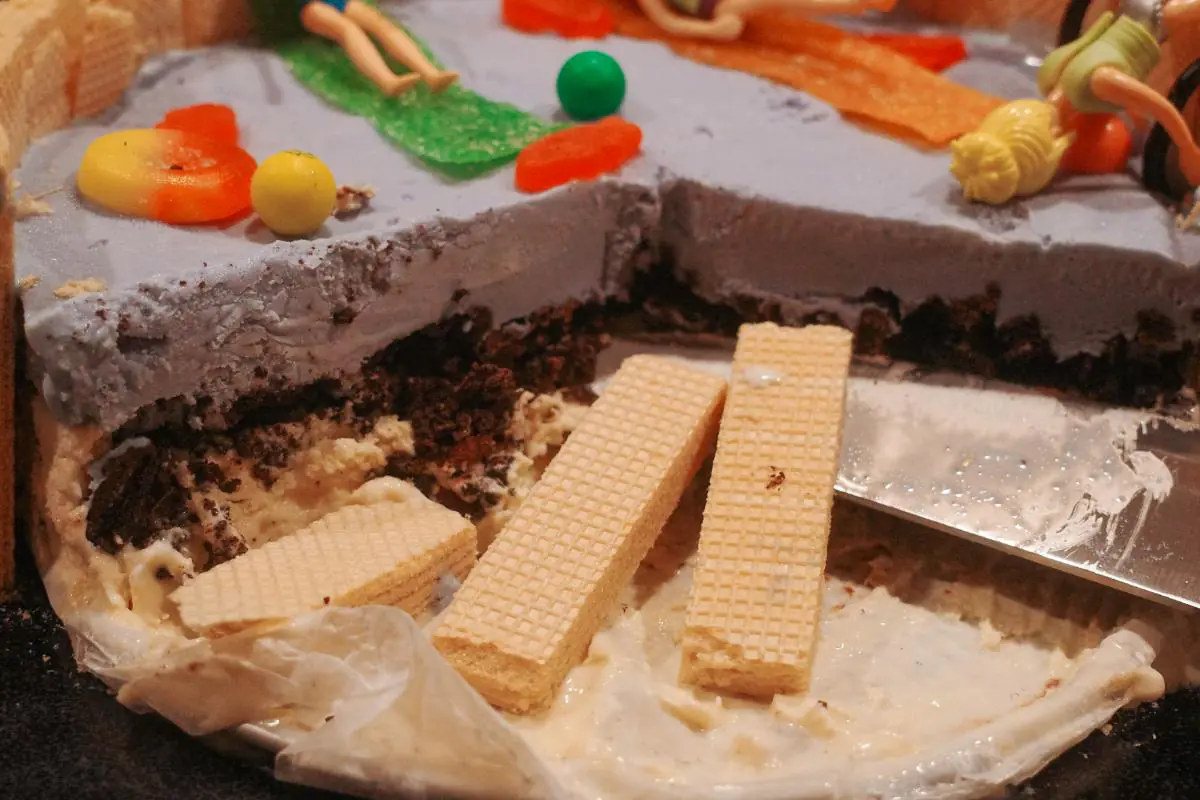
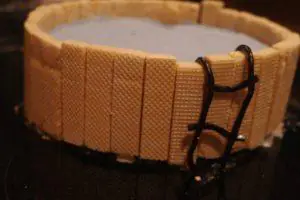
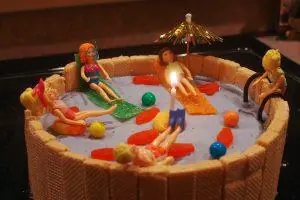
The recipe calls for just one flavor of store-bought ice cream topped with blue Cool Whip. But you know I had to take it to the next level. My version’s a cross between the OG and a Carvel ice cream cake. It has a layer of chocolate cookie “crunchies” in between two flavors. Surrounded by a crispy wafer cookie “fence” and garnished with a licorice ladder, it truly looks just like an above-ground swimming pool.
I decorated it just like my mom used to—with a few upgrades. Gummy peach rings, gumballs, and paper umbrellas are musts. I added sour strips and mini Swedish Fish. And I swapped my mom’s favorite plastic babies for Fashion Polly Pockets to double down on the nostalgia factor.
Make-Ahead Timeline
This is a project best spread across a few days rather than tackled all at once:
- 2—3 days ahead: Make the Vermonty Python ice cream, blue vanilla ice cream, and ice cream crunchies. Keep all three in the freezer until you’re ready to assemble. I like to place my base ice cream in the springform pan to set so I don’t have to scoop both flavors.
- 1—2 days ahead: Add the crunchies on top of your set base ice cream, then scoop the second flavor over top, spread out, and freeze solid.
- Day of: Unmold and decorate. The decorating step goes quickly, but candy and licorice can soften or get sticky if they sit out too long. I recommend doing most of this right before serving.
How to Serve this Swimming Pool Ice Cream Cake
Let the cake sit out at room temperature for 10-15 minutes before slicing. If you wait to decorate until just before serving, you can decorate the cake while you wait for it to soften up.
To slice, dip your knife in hot water, and wipe dry between cuts. This will give you a cleaner slice. Place any uneaten cake back in the freezer ASAP so it doesn’t turn into an actual pool. I like to wrap it up nice and snug in plastic wrap to prevent freezer burn.
Frequently Asked Questions

Swimming Pool Ice Cream Cake
Ingredients
- 1½ quarts copycat Vermonty Python ice cream or your fav store-bought flavor
- 1½ quarts blue vanilla ice cream or store-bought vanilla + blue food coloring
- 1 recipe ice cream cake crunchies optional, for filling
- 10-12 ounces vanilla cream wafer cookies or Keebler Fudge Sticks
- string/lace licorice
- mini Swedish Fish
- gummy peach rings
- multi-colored sour strips
- multi-colored mini gumballs
- mini plastic figures such as Fashion Polly Pockets or mini plastic babies
- paper cocktail umbrellas
Equipment
- 8- or 10-inch springform pan
- ice cream scoop
- offset spatula
Video

Method
- Let 1½ quarts copycat Vermonty Python ice cream soften at room temperature for 15-20 minutes, then scoop it into the bottom of the springform pan, packing it into an even layer.
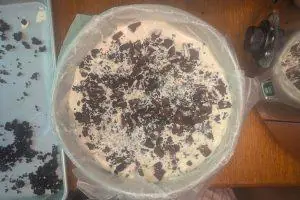
- Top with plastic wrap or wax paper pressed tightly onto the surface, and freeze for at least 4 hours (or up to overnight).
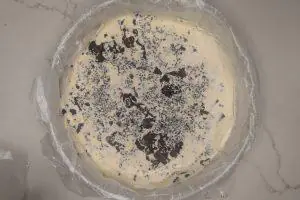
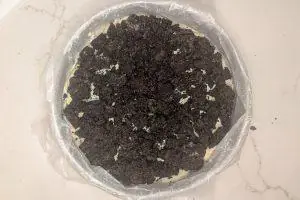
- Remove the plastic/wax, then place an even layer of 1 recipe ice cream cake crunchies (recipe coming soon!) over the surface of the ice cream.
- Scoop 1½ quarts blue vanilla ice cream (click for recipe!) over the crunchies, covering completely.
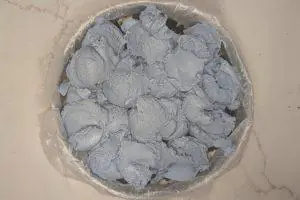
- Gently press the scoops down to compact them, then smooth with an offset spatula.
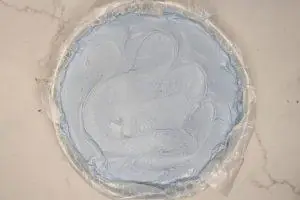
- Cover the surface of the cake in plastic wrap or wax paper, and freeze for at least 4 hours (or up to overnight).
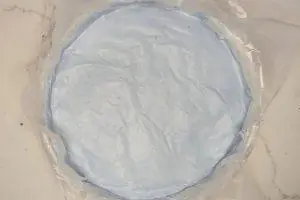
- When ready to decorate, unmold the cake by unlatching the springform collar. If needed, you can briefly dip the container into warm water, or loosen the edges with a warm knife.
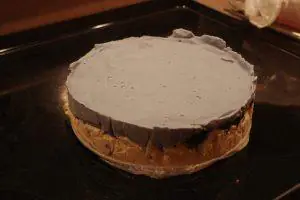
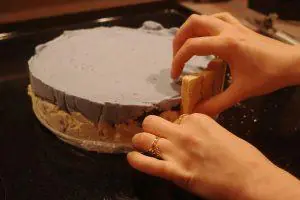
- Carefully place 10-12 ounces vanilla cream wafer cookies around the sides of the cake to resemble the panels around an above-ground pool.
- Carefully place two pieces of string/lace licorice to create a ladder. Add cross-bars if you're feeling adventurous, though see the notes below for how to make them hold.
- Carefully decorate the cake with mini Swedish Fish, gummy peach rings as inner tubes, multi-colored sour strips as pool loungers, and multi-colored mini gumballs as beach balls. Place four or five mini plastic figures on the inner tubes and pool loungers, then add a few paper cocktail umbrellas around for ambiance.
Notes
- If your store-bought blue vanilla isn’t turning blue enough, gradually add more food coloring, stirring well between each addition. It’s easier to deepen the color than it is to fix an oversaturated batch.
- If your ice cream is cracking or turning icy on top, make sure the plastic wrap or wax paper is pressed directly onto the surface (not just draped over top). It needs to form as close to an airtight seal as possible.
- If your cake won’t release from the pan, briefly dip it in warm water (a few seconds only), or run a warm knife around the edge. If it’s really stuck, let it sit for a minute at room temp.
- If the cookies keep sliding off, press them into place while the cake is still very cold, and try the sliding-down motion rather than pressing them straight on. If they’re still slipping, pop the cake back into the freezer for 10-15 minutes before slicing to help them set in place.
- If your licorice ladder won’t hold its shape, gently press the licorice into the surface of the cake so it has something to grip. The rungs are tougher to keep attached. I pressed firmly, but they came apart quickly after photos. You may do better to leave them off or use painted toothpicks instead (just make sure to remove before serving!).