You followed the recipe, churned until it looked right, did everything you were supposed to do… and you still pulled a container out of the freezer full of icy ice cream that scraped like shaved ice instead of scooping cleanly.
Icy homemade ice cream is the most common complaint I hear from home makers, and the frustrating part is that there’s no single answer. Ice crystals form for different reasons at different stages, and the fix depends entirely on when and why they formed. This post will help you figure out exactly which problem you’re dealing with.
What Makes Ice Cream Icy in the First Place
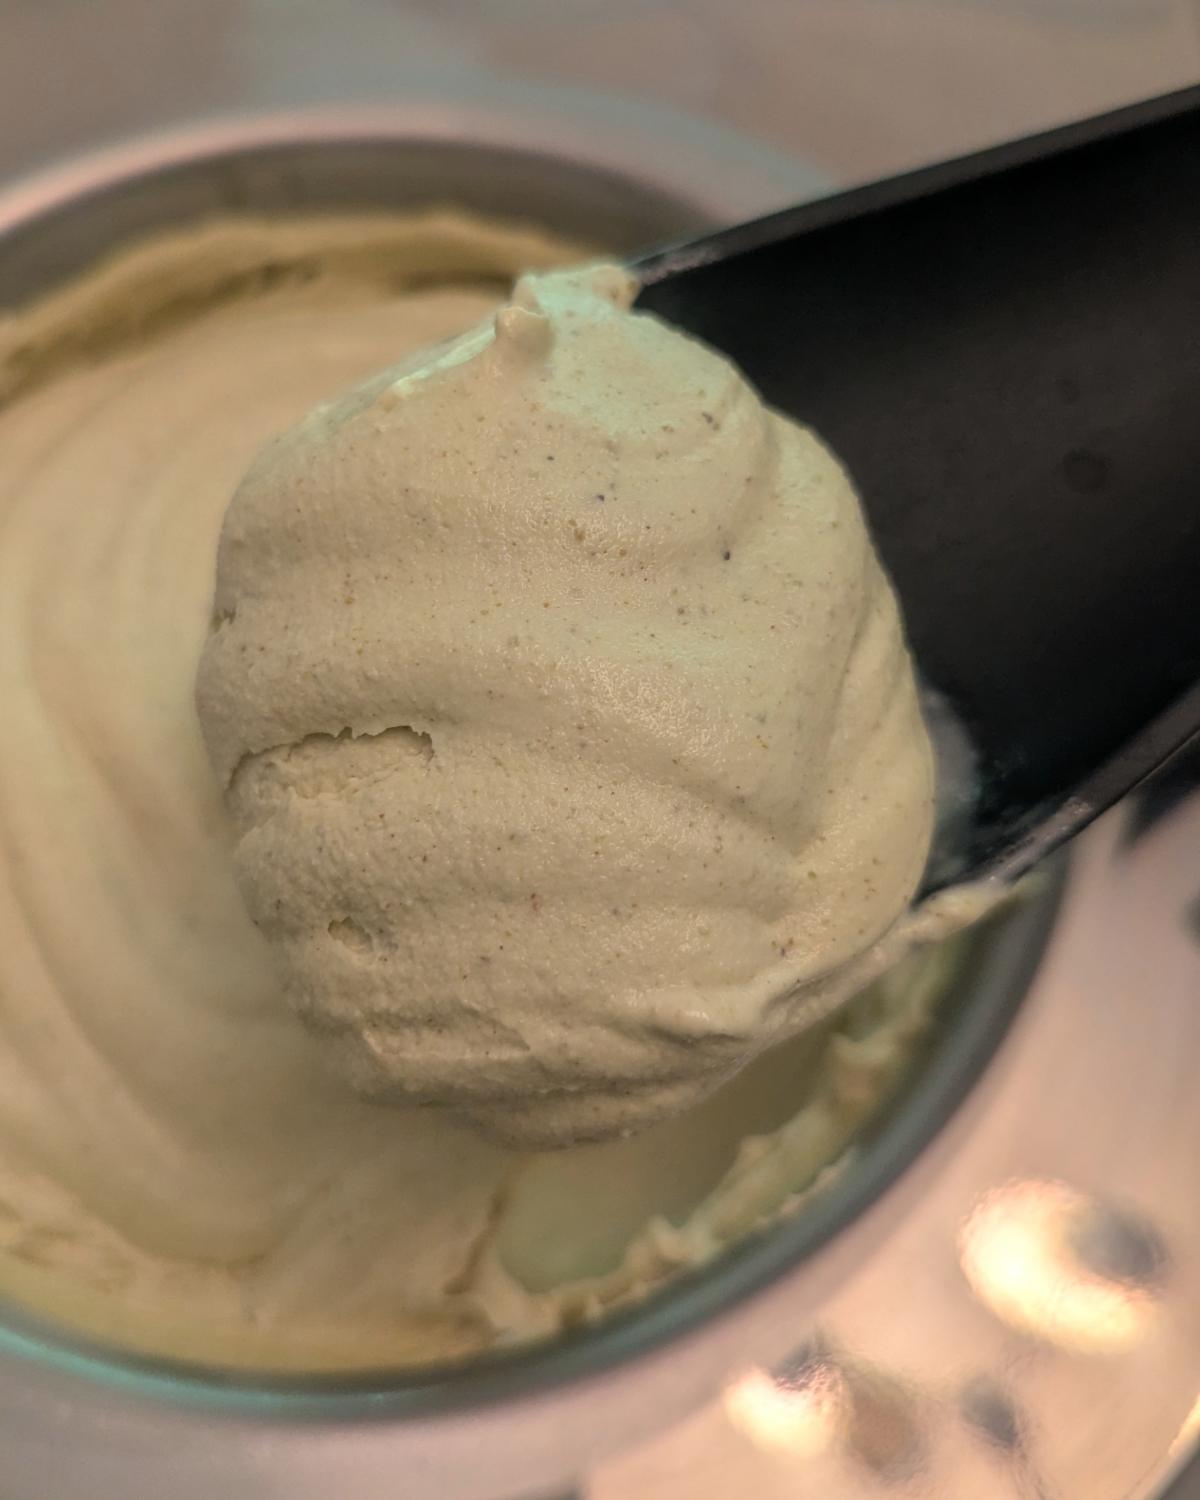
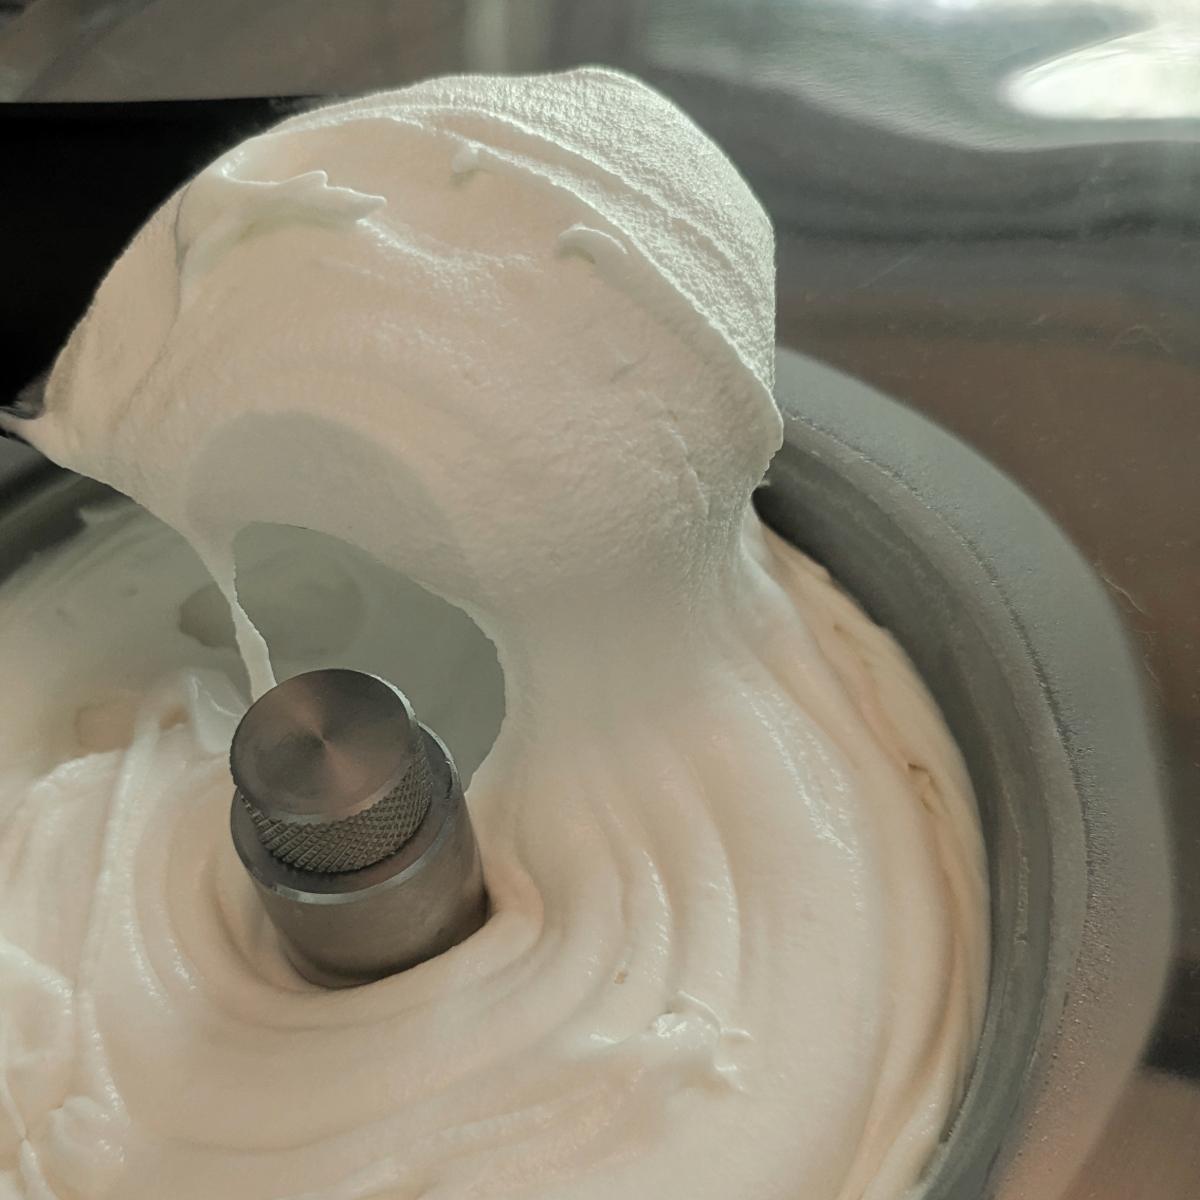
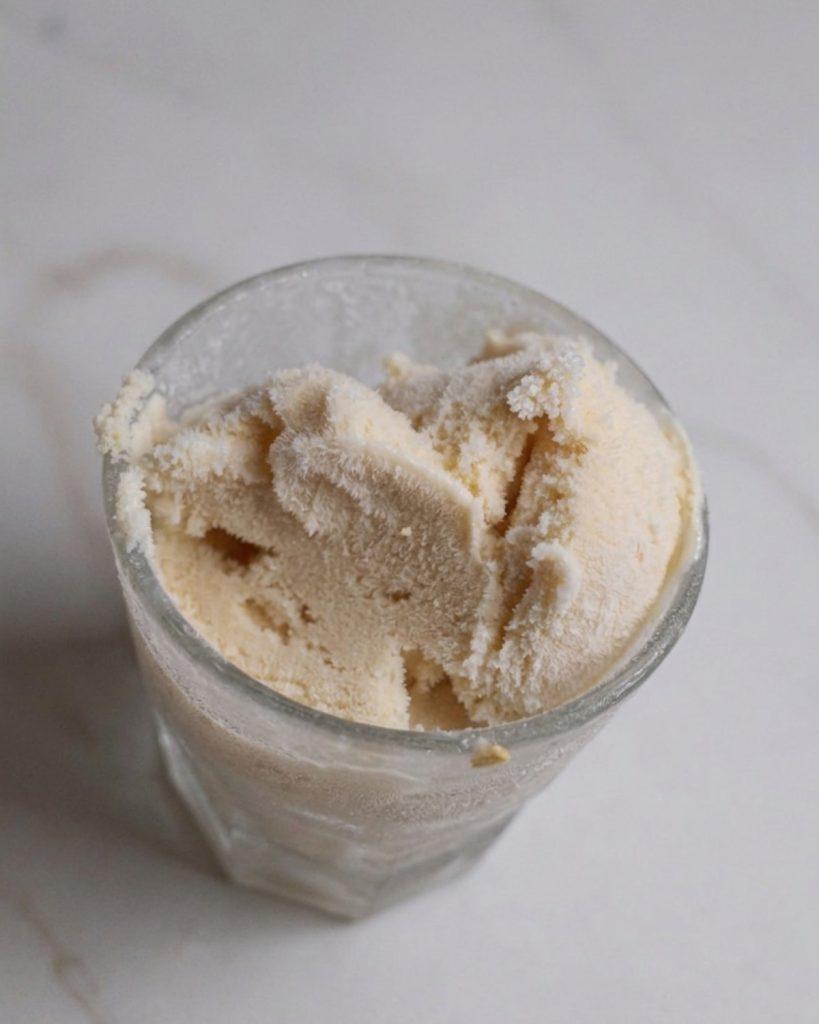
Ice cream is essentially a managed freezing process. Your goal is lots of very tiny ice crystals—small enough that your tongue can’t detect them individually, which is what creates that smooth, creamy texture. When something goes wrong, those crystals grow larger than they should, and you get iciness.
Large ice crystals can form in two ways: they can form too large during churning, or they can start small and grow over time in the freezer (a process called recrystallization). Those are two different problems with different causes and different fixes.
The root causes almost always come back to your base ratio—specifically how water, sugar, fat, and milk solids are balanced. If you’re not familiar with how those numbers work, my ice cream base ratio guide is the place to start. This post assumes that foundation and focuses on the practical diagnosis.
Cause 1: Not Enough Sugar
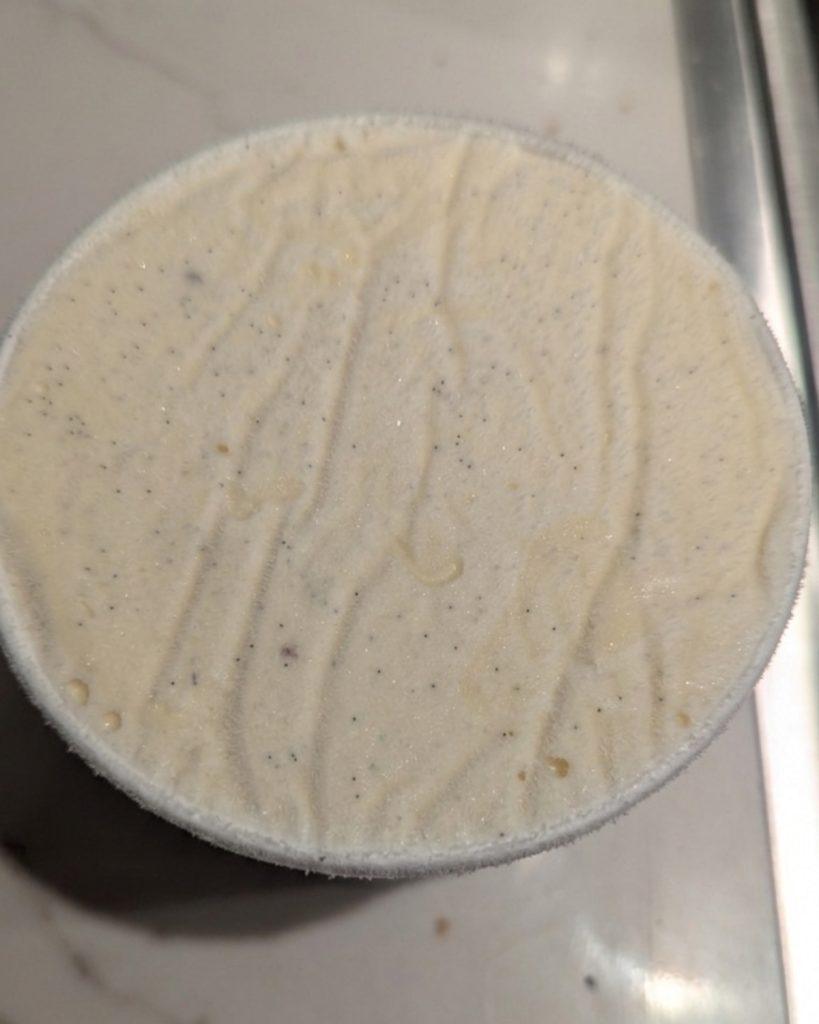
Sugar’s job in ice cream isn’t just sweetness; it’s freezing point depression. Dissolving sugar in water lowers the temperature at which that water freezes, which means smaller crystals forming more slowly. Not enough sugar and your base freezes too fast and too hard, producing large crystals and a rock-solid, icy result.
This is your problem if your ice cream is icy and hard (difficult to scoop even after sitting on the counter for 10 minutes). It may also taste underseasoned, since low sugar often reads as flat rather than just less-sweet.
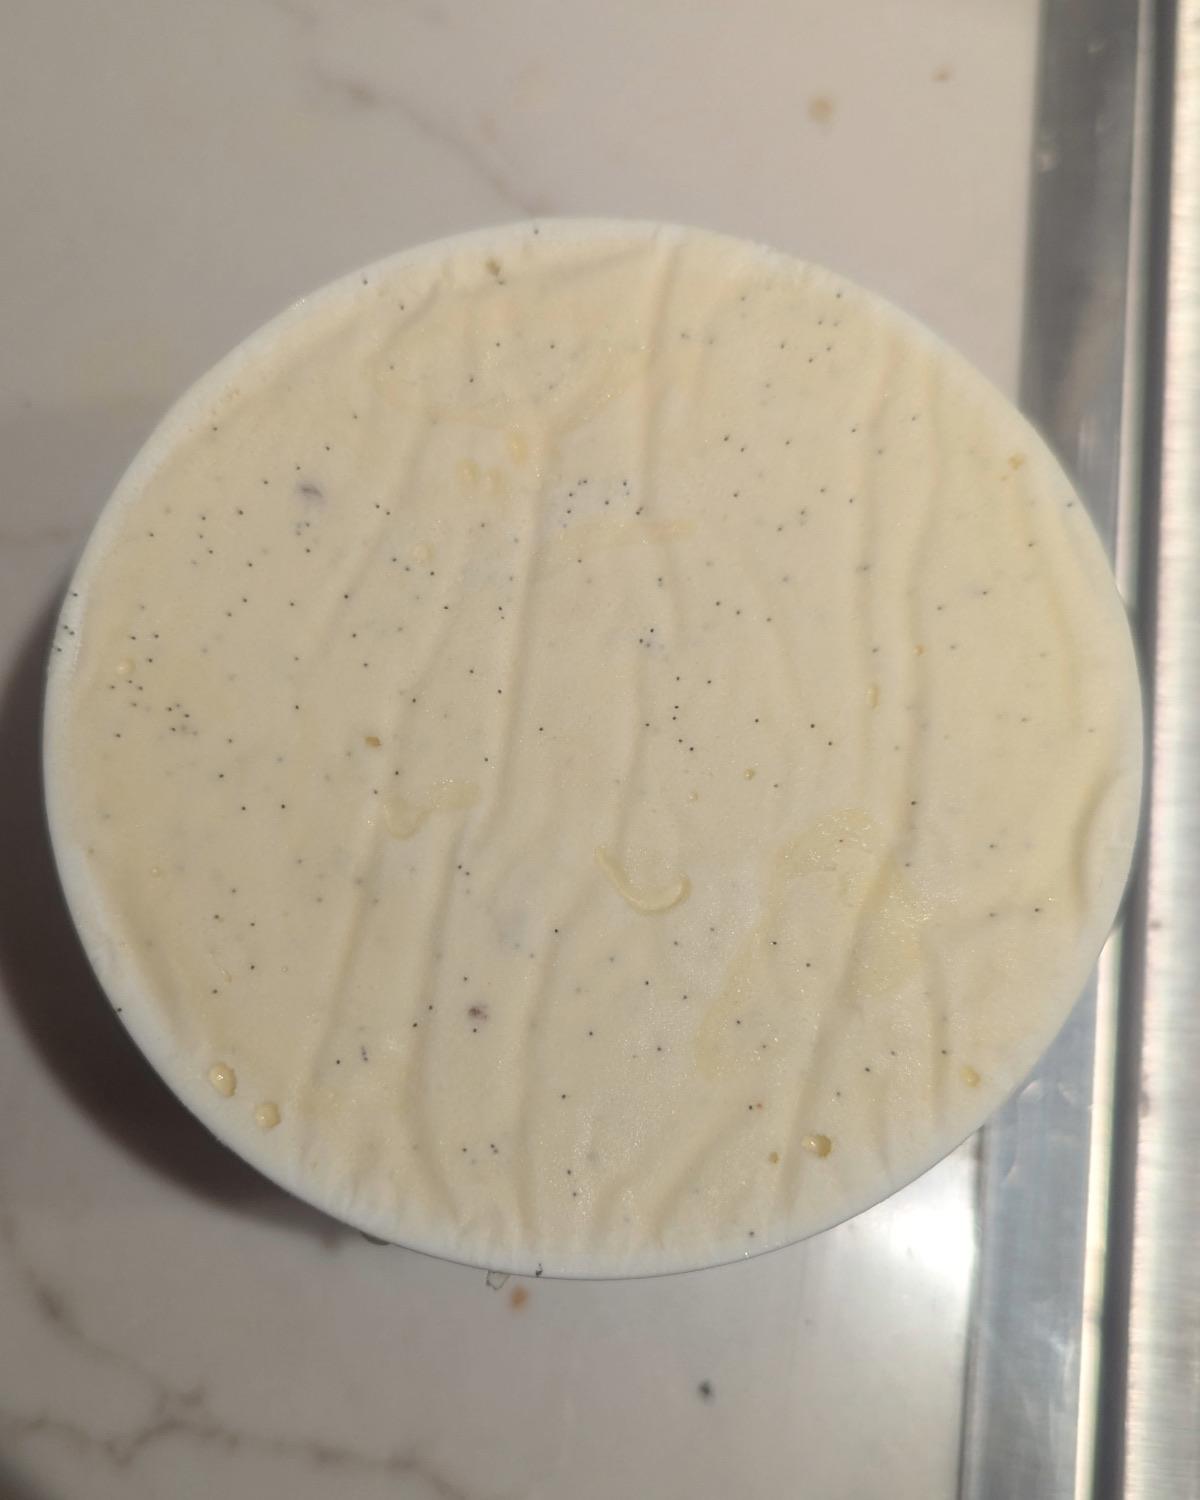
The fix: Increase your sugar to at least 13% of total base weight, targeting the 15–18% range for most flavors. If you don’t want it sweeter, swap some sucrose for dextrose—it lowers the freezing point almost twice as effectively as table sugar but is only about ¾ as sweet. A tablespoon of corn syrup or honey (I do this in my vanilla bean honey ice cream) works similarly and keeps scoops softer without a noticeable sweetness increase.
Cause 2: Not Enough Milk Solids (MSNF)
Milk solids non-fat—the proteins, lactose, and minerals in your dairy—are one of the most overlooked variables in home ice cream. The proteins help stabilize the emulsion and actively inhibit ice crystal growth. Too little MSNF and you’re missing one of the most effective tools your base has for staying smooth.
This is your problem if the ice cream is icy and thin-tasting (not just rough in texture but lacking body). It may also feel watery as it melts rather than creamy.
The fix: Add skim milk powder. It’s the most reliable way to boost MSNF at home without significantly changing your other ratios. I use ½ cup per quart of base, which gets MSNF up to around 11% (solidly in the effective range). You can find it at most grocery stores or online; it dissolves easily into your milk before heating. I cover how to choose one in my ice cream ingredients guide.
Cause 3: Too Much Water (Often From Mix-Ins)
Water is the thing that actually freezes in ice cream. Your fat, sugar, and MSNF are all, in one way or another, managing that water (keeping it from forming large crystals). When you add a mix-in that’s high in water without adjusting the rest of your base, you tip the balance and end up with more free water than your base can handle.
Fresh fruit is the biggest culprit. Strawberries are about 91% water. Raspberries, peaches, mangoes—all similar. Fold them in without accounting for it, and you’ve added a significant amount of unmanaged water to a base that wasn’t built for it.
This is your problem if the ice cream was fine before you added the mix-in, or it’s noticeably icier in the sections where the fruit (or other high-water ingredient) is concentrated.
The fix: Two options depending on how much effort you want to put in:
- Reduce the milk by approximately the weight of your fruit before adding it. If you’re adding 1 cup of strawberries (roughly 150g), reduce whole milk by about 150ml.
- Cook the fruit down first. Macerating with sugar and then simmering concentrates the flavor, drives off water, and adds sugar—all things that work in your favor. Cooked fruit swirls and jams (like my rhubarb jam swirl) are also easier to distribute evenly through the ice cream than fresh chunks.
Alcohol is the other major water-related cause, and it’s sneaky because it also aggressively suppresses the freezing point. A little keeps ice cream soft and scoopable; too much and it won’t freeze at all, or will freeze unevenly and icy in patches. Keep alcohol additions to 1–2 tablespoons per quart unless you’re specifically compensating with extra MSNF.
Cause 4: The Base Wasn’t Cold Enough Going In
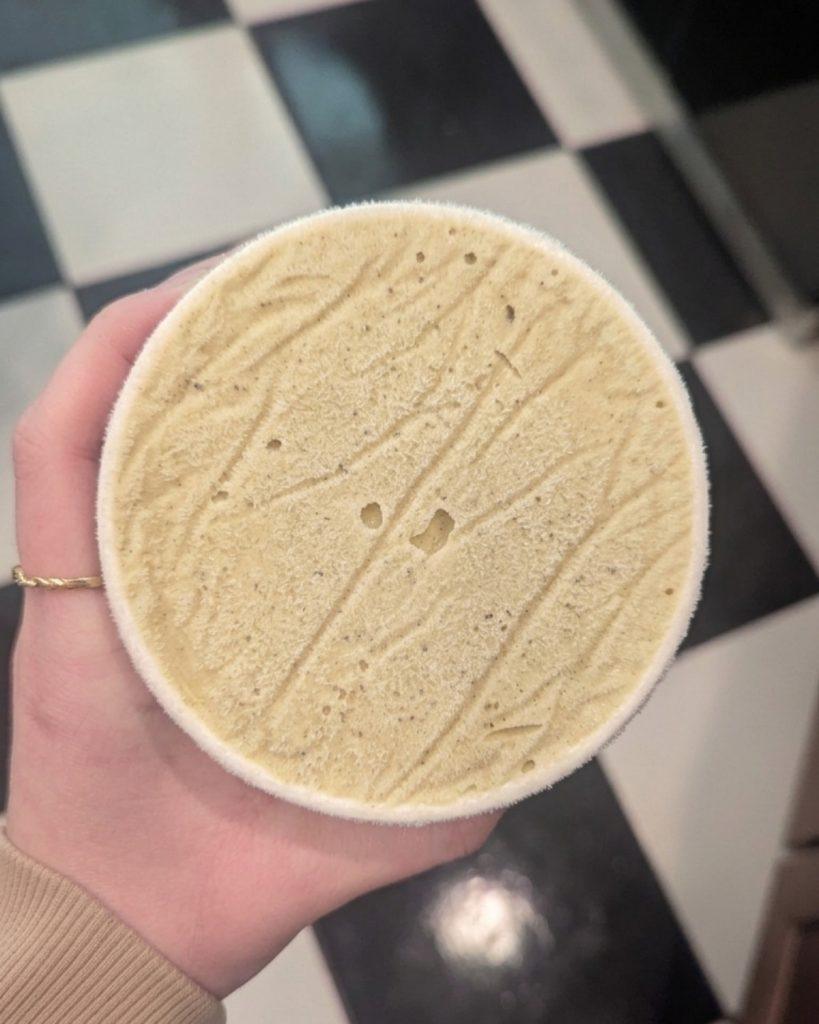
This one is about process rather than ratios, but it matters. The colder your base is when it hits the machine, the faster it starts to freeze, and the smaller the ice crystals that form during churning. A warm or room-temperature base spends the first 10–15 minutes of churn time just getting cold (that’s 10–15 minutes of slow freezing with larger crystal formation before the real churning work even begins).
This is your problem if your ice cream is icy and the texture is consistently coarser throughout.
The fix: Chill your base thoroughly before churning—a minimum of 4 hours in the refrigerator (ideally overnight). For even better results, do a quick ice bath first: set the container of base in a bowl of ice water for 20–30 minutes before it goes in the fridge, which drops the temperature rapidly. Your base should be as cold as possible (close to 39°F) before it goes into the machine.
Cause 5: Ice Crystal Growth in the Freezer (Recrystallization)
Sometimes the ice cream comes out of the machine perfectly smooth and icy texture develops later—after a few days or a week in the freezer. This is recrystallization: smaller crystals slowly merging into larger ones over time as temperatures fluctuate even slightly.
Recrystallization is a storage problem as much as a recipe problem, and there are two angles to address it from.
This is your problem if the ice cream was noticeably better the day it was made and has gotten progressively icier. If you’ve had it for more than 3–4 days, this is almost certainly part of what’s happening.
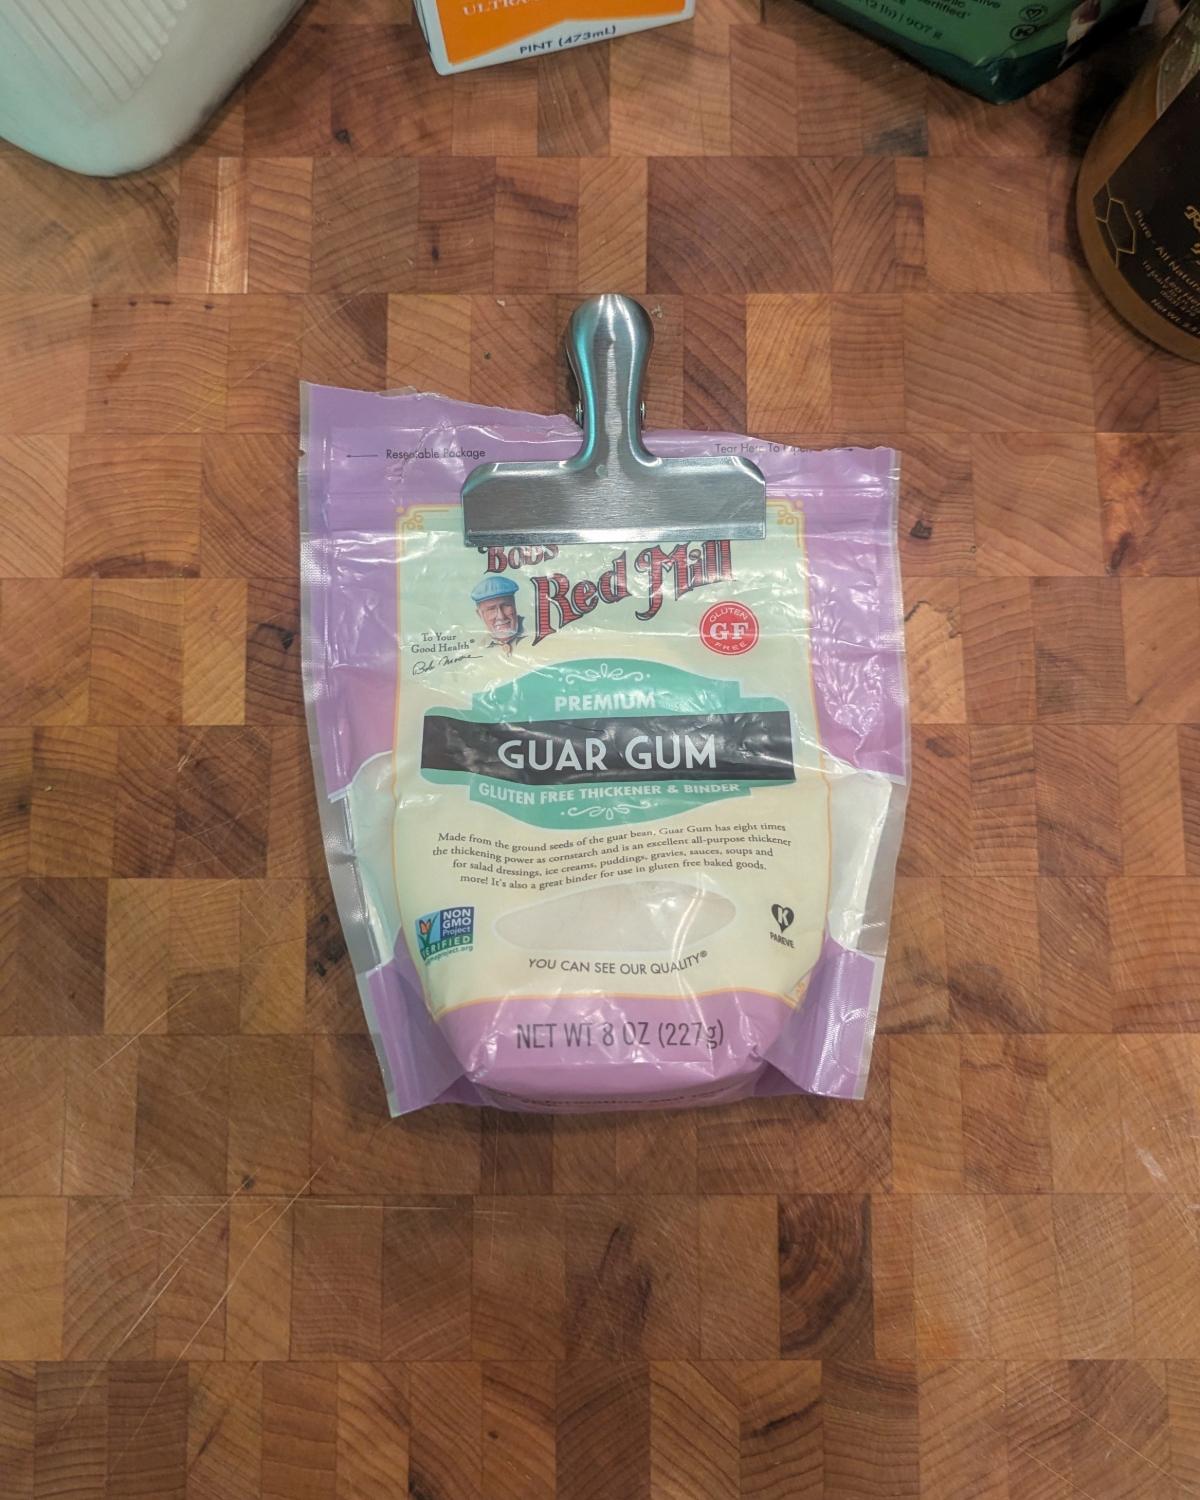
The fix (recipe side): Stabilizers actively inhibit recrystallization. You don’t need anything exotic—a small amount of guar gum, xanthan gum, or even a good commercial stabilizer blend makes a meaningful difference in how long the texture holds. I cover this in detail in my stabilizers 101 post, but if you’re not ready to go there, a tablespoon of cream cheese blended into the base is a simpler workaround that adds proteins and emulsifiers that slow the process.
The fix (storage side): Press a piece of plastic wrap or parchment directly against the surface of the ice cream before putting the lid on—this eliminates the air gap where temperature fluctuations do the most damage. Store at the back of the freezer where temperatures are most consistent, not in the door. And eat it within a week; homemade ice cream without commercial stabilizers simply isn’t built for long-term storage the way store-bought is.
Quick Diagnosis Guide for Icy Ice Cream
| Symptom | Most Likely Cause | First Fix to Try |
|---|---|---|
Icy and rock-hard, hard to scoop | Not enough sugar | Increase sugar or add dextrose |
Icy and thin-tasting, watery melt | Not enough MSNF | Add skim milk powder |
Icy only where fruit is | Too much water from mix-ins | Cook fruit down or reduce milk |
Consistently coarse throughout | Base too warm going in | Chill base overnight before churning |
Was fine, got icy after a few days | Recrystallization | Press wrap to surface; use stabilizers |
The Honest Truth About Icy Ice Cream
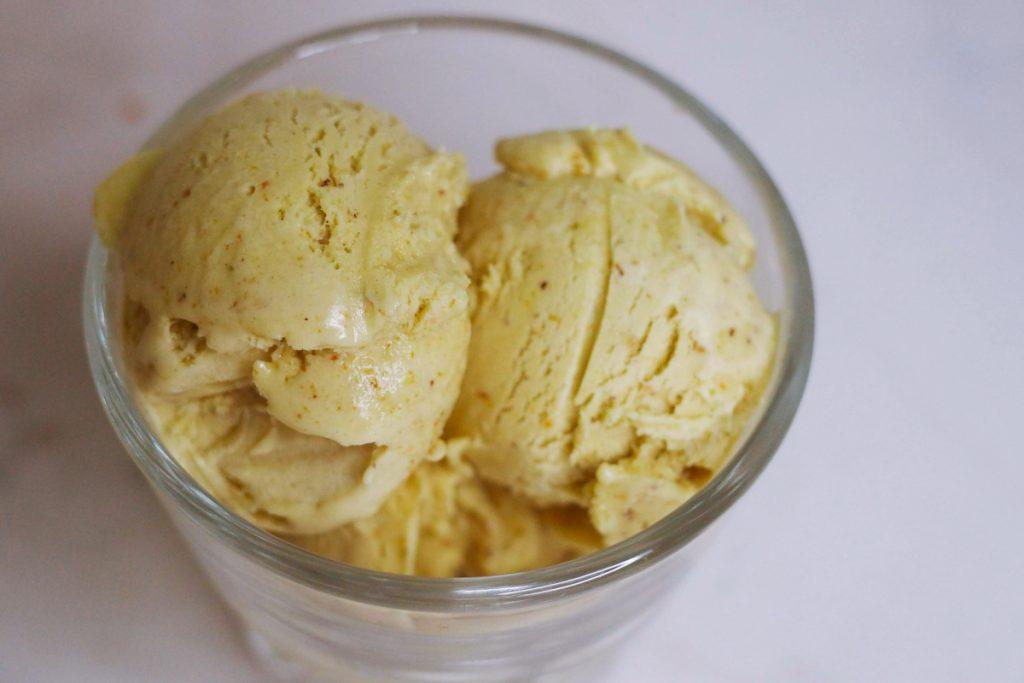
Most icy ice cream comes from recipes that weren’t designed with the ratio in mind—either too little sugar, not enough milk solids, or no accounting for the water in mix-ins. The good news is that all of those are fixable with small adjustments, not a complete overhaul.
If you’ve been making ice cream from recipes that never quite worked and you’re not sure where to start, begin with the base. My custard base is the richer option. If you’d rather skip the eggs, try my no-egg Philadelphia-style base instead. Not sure which to try? Check out my guide on French vs. Philadelphia-style ice cream. Get the fat, sugar, MSNF, and water into range before you troubleshoot anything else. My ice cream base ratio guide walks through exactly how to do that.
And if your ice cream is developing ice crystals in storage specifically, check out my storage guide that covers that in more depth—container choice, temperature, and how long homemade ice cream actually keeps.