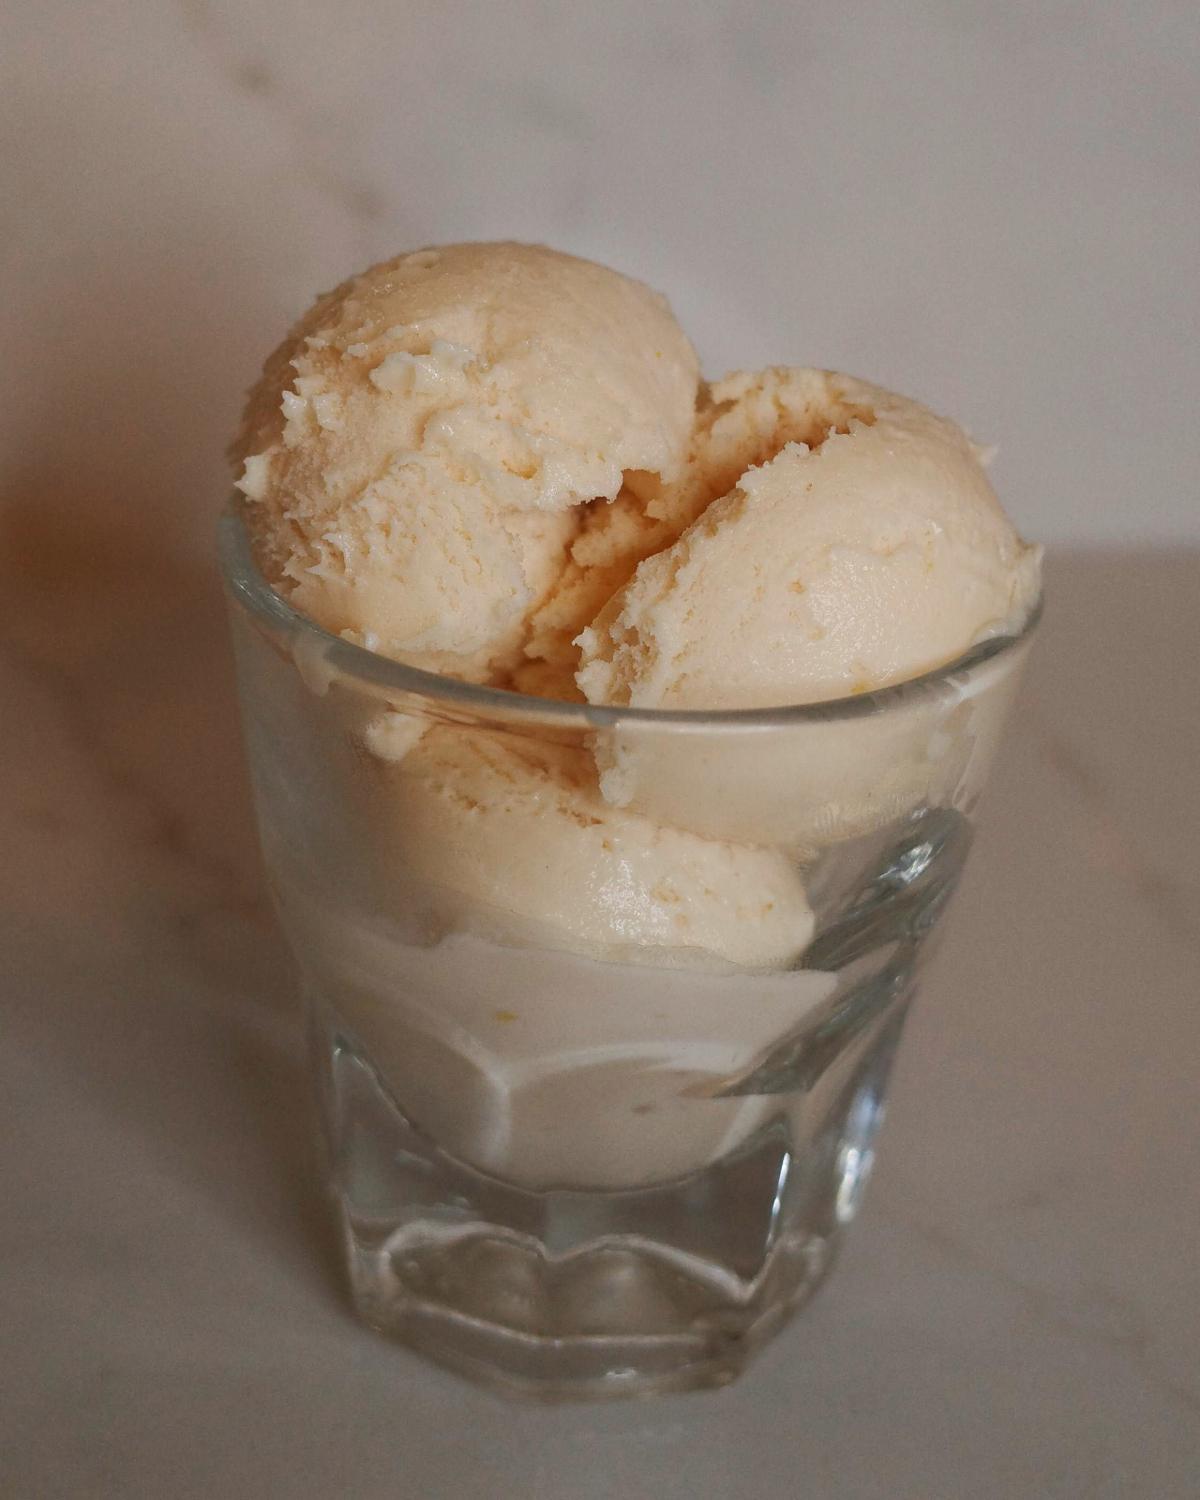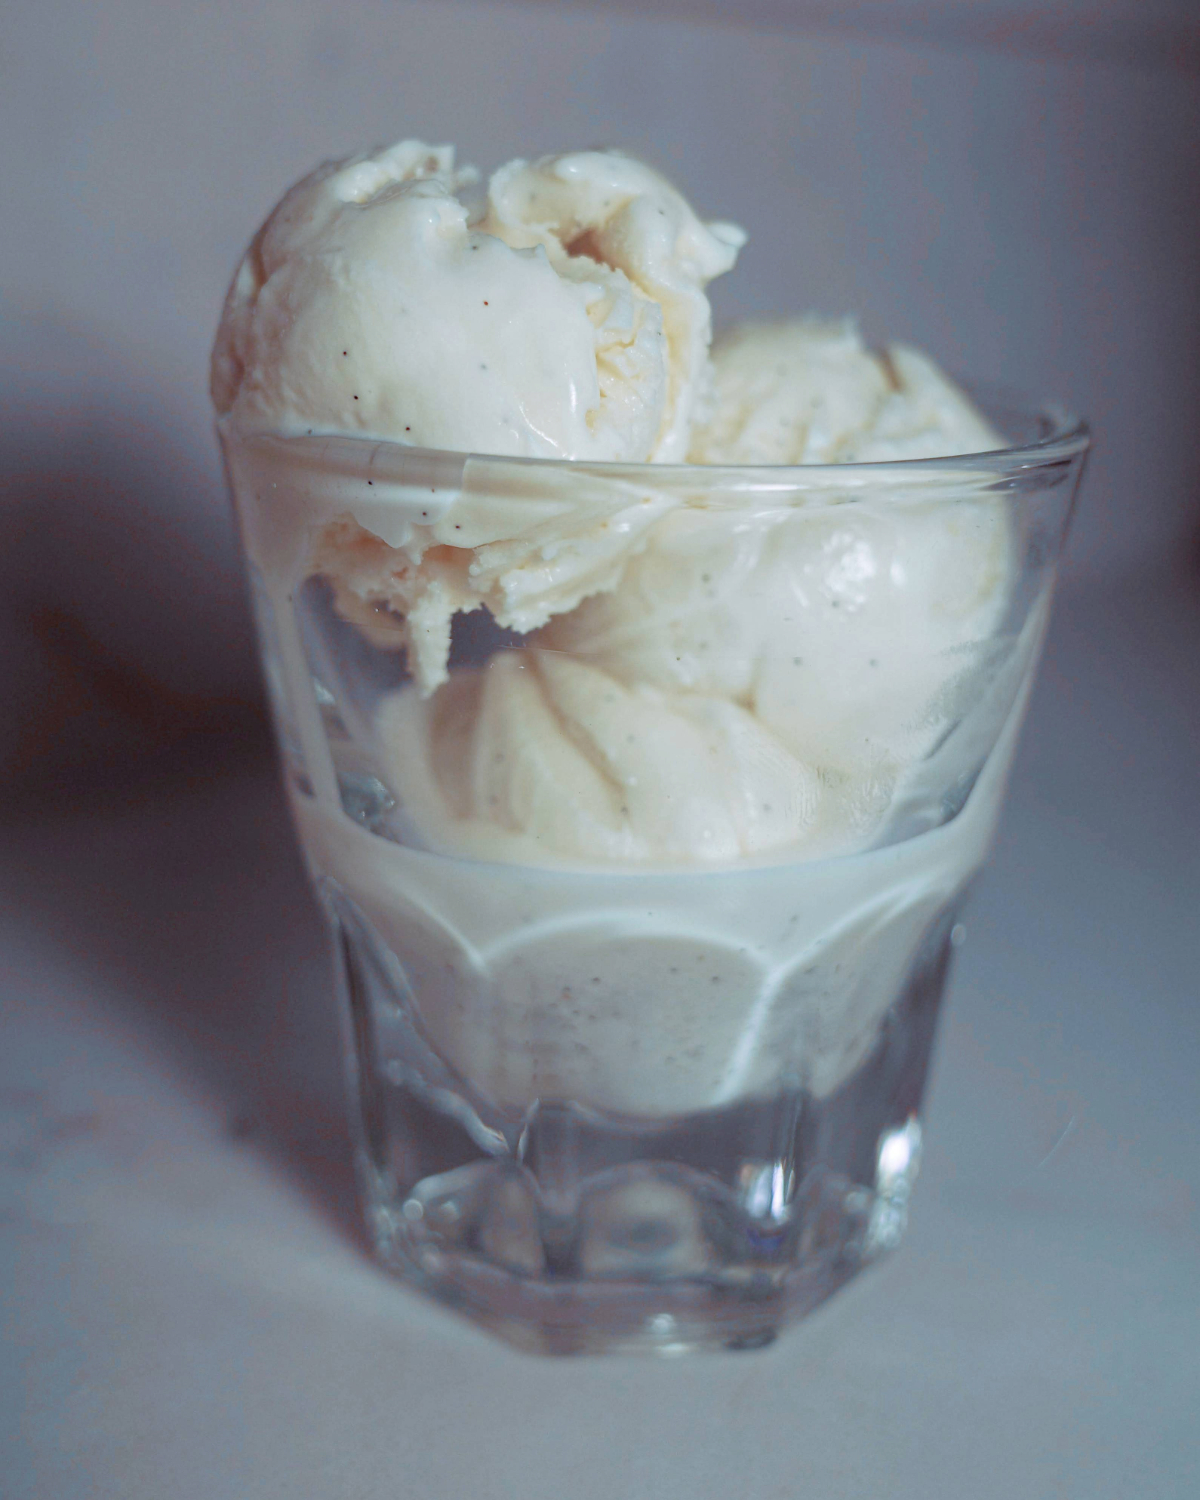
If you’re new to home ice cream making, start here. Made rich with egg yolks for a decadent texture, a custard ice cream, also known as French ice cream, is the pinnacle of frozen desserts. It’s made with simple ingredients (no corn syrup!), and tempering the eggs is way easier than it sounds. I call this my sweet cream custard because there’s no vanilla; just eggs, cream, and salt doing the talking. It’s built on the same ice cream base ratio that governs every recipe on this site.
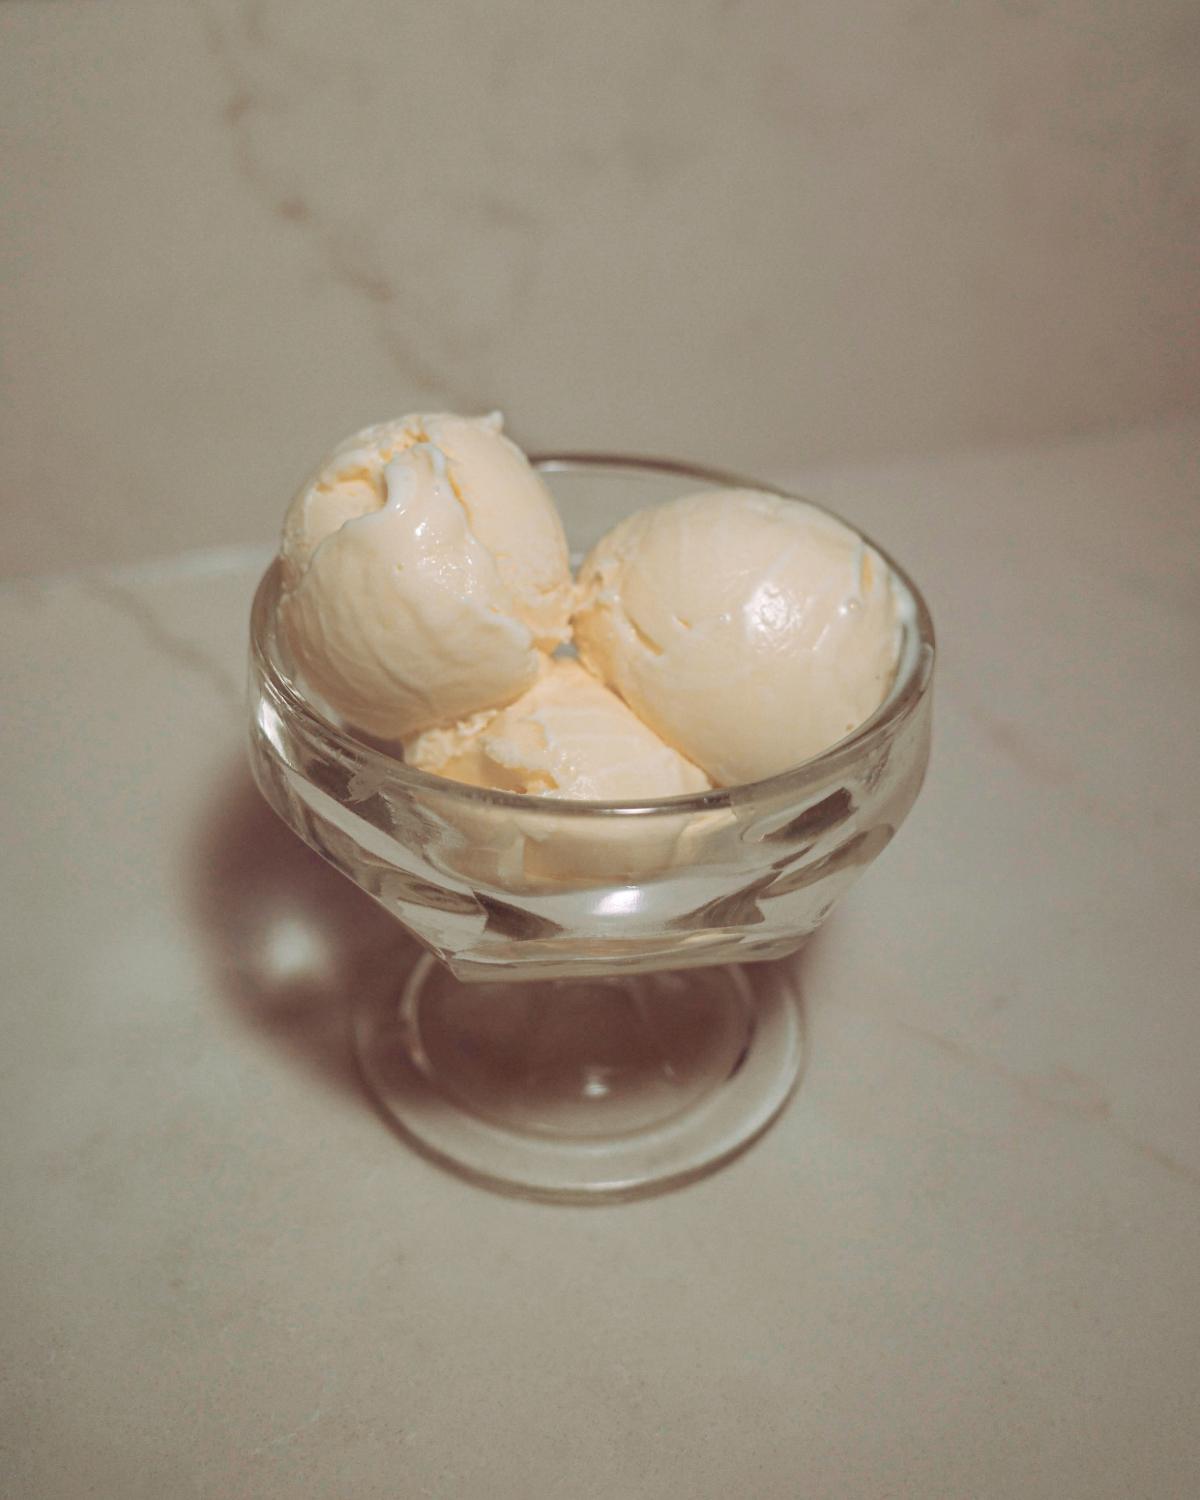
What Do You Need for a Custard Ice Cream Base?
You’ll need all the basics: milk, cream, sugar, egg yolks, salt, and vanilla. For an even richer texture, grab skim milk powder. And for a custard that keeps for longer without getting freezer burn, grab a stabilizer (I use guar gum).
If you want to go deeper on what each ingredient does, see what’s actually in homemade ice cream.
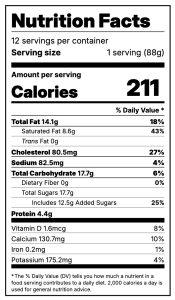
Here are the final specs for this batch. This is a premium/super premium ice cream that’s soft and scoopable straight from the freezer.

- Total Fat: 16%
- Total Sugars: 20%
- MSNF: 11%
- Water: 58%
- POD: 152
If you want to understand what these numbers mean and how to adjust them for your own recipes, my base ratio guide covers it all.
How to Temper Custard Ice Cream Base: Step-by-Step
This is the most intimidating part of the whole operation, but I’m here to tell you it doesn’t have to be! Tempering a custard is super straightforward and takes just a few extra steps.
- Warm the dairy first. Heat milk and cream until steaming with small bubbles at the edges—not boiling (aim for about 110°F). This is the temperature you’ll be matching the eggs to.
- Whisk the yolks separately. Bring to room temperature, and whisk until slightly pale. This helps prevent temperature shock. Going from 72°F to 110°F is way less destabilizing than going from 35°F.
- Ladle in a small amount of hot dairy, whisking constantly. One ladle at a time, whisk some warm cream into the eggs. This is the step where curdling is most likely to happen. We’re raising the eggs’ temperature gradually so the proteins don’t seize.
- Whisk back into the custard. Once the yolks feel warm to the touch (not hot), it’s safe to whisk the tempered yolks back into the rest of the dairy.
- Cook to nappe, low and slow. Stir constantly over medium-low heat until the custard coats the back of a spoon and holds a line when you swipe a finger through it (about 165°F).
- Strain immediately. Even a well-tempered custard can have a few flecks of cooked egg; straining catches them before they become icy specks later.
- Chill before churning. Get it into the fridge right away to stop the cooking.
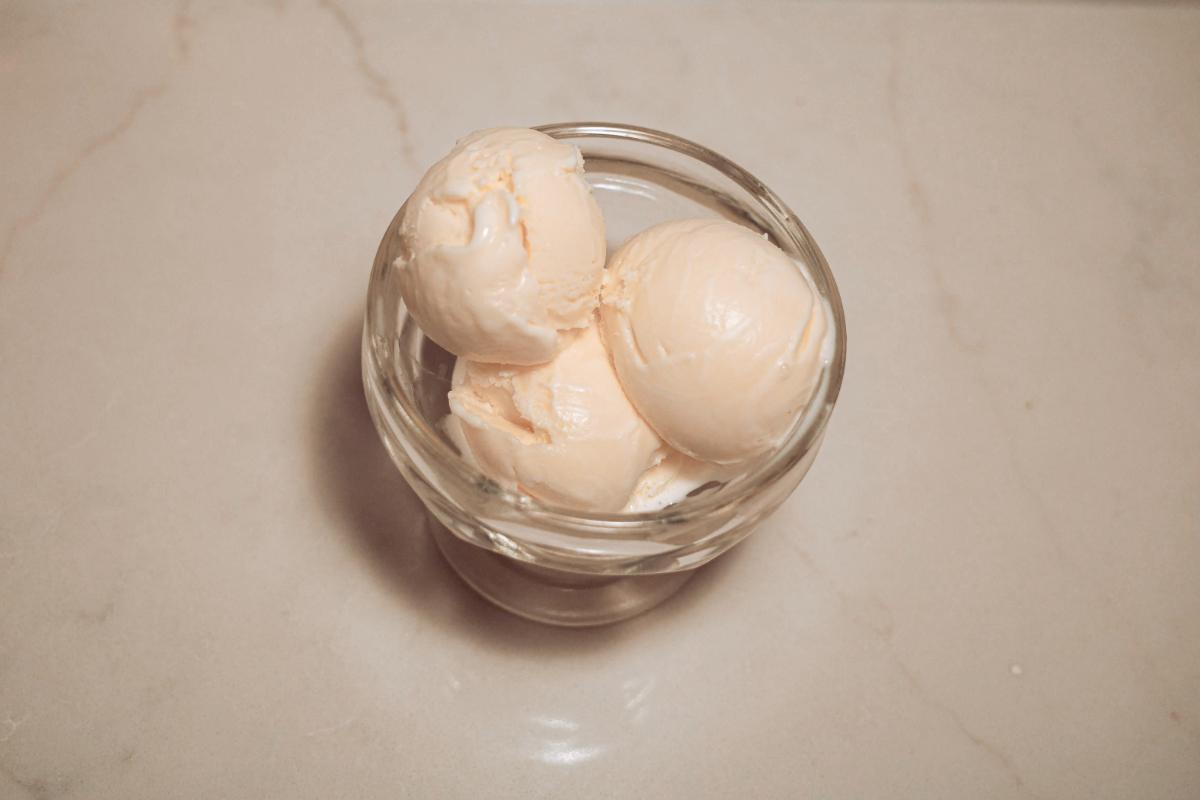
What Do I Do If My Custard Is Chunky?
If you notice small cooked egg pieces in your custard, don’t panic. Strain them out as quickly as possible. The longer they sit in the warm custard, the more they leech out that sulfuric egg flavor. Once strained, your custard should be good to go!
How Should I Flavor Sweet Cream Ice Cream?
The whole point of sweet cream ice cream is to focus on that classic custard flavor. You don’t need any vanilla or bourbon to enhance this flavor; it’ll just cover it up. Instead, add a generous pinch of kosher salt and let the eggs do the talking.
How to Store Your Custard Ice Cream Base
You can store the chilled base itself in the refrigerator for up 5 days before churning. Once churned, get it into the freezer right away, and store for up to 1–2 weeks. Here’s how to store homemade ice cream so it stays scoopable.

Sweet Cream Custard Ice Cream Base Recipe
Ingredients
- 150 g cane sugar
- 60 g skim milk powder
- 0.3 g guar gum ⅛ tsp, optional
- 400 g whole milk 3.25% fat
- 400 g heavy cream 36% fat
- 42 g egg yolks from 3 medium eggs
- 1 g kosher salt
Equipment
- 2-Quart Saucepan
- Whisk
- Instant-Read Thermometer
- Ice Bath
- Fine-Mesh Sieve
- Compressor-Style Ice Cream Maker
Video

Method
- Portion out all of your ingredients so you're ready to go. Crack 42 g egg yolks into a small bowl and whisk well. Set aside.
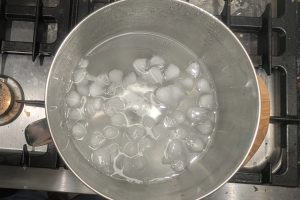
- Prepare an ice bath by filling a large bowl with cold water and several handfuls of ice cubes. Set aside.
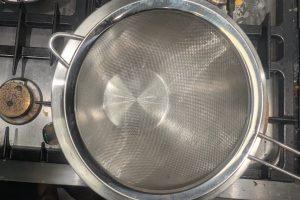
- Set a fine-mesh sieve over a smaller bowl you set aside for the ice bath.
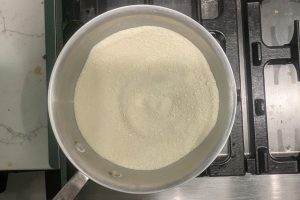
- Grab a saucepan that holds at least 2 quarts of liquid. Pour in 150 g cane sugar, 60 g skim milk powder and 0.3 g guar gum (if using). Whisk to combine.
- Pour 400 g whole milk into the pan with the sugar/SMP mixture, and whisk until the sugar/SMP have mostly dissolved.
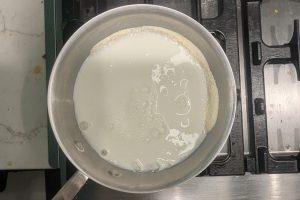
- Add 400 g heavy cream and whisk again until the mixture feels smooth.
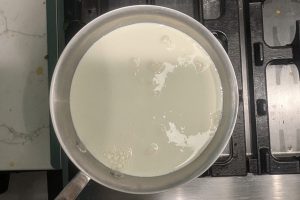
- Gently heat the pot over medium-low, whisking constantly, until it reaches 110°F on an instant-read thermometer. Once it reaches temperature, immediately remove it from the heat.
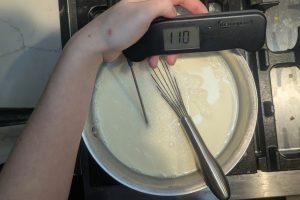
- Take a ladleful of the warm cream mixture, and stream it slowly into the egg yolks, whisking vigorously to prevent curdling.
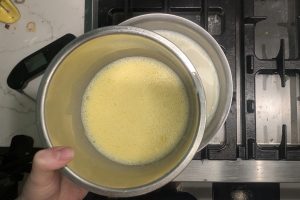
- Once the mixture is smooth, pour the egg/cream mixture back into the saucepan, and whisk well until the liquid takes on a yellowish hue.
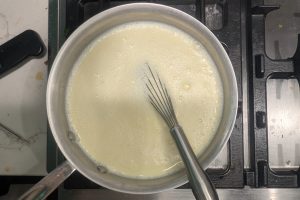
- Return the pan to medium-low heat, and continue warming, whisking constantly, until it reaches 165°F. Once at temperature, immediately remove it from the heat.
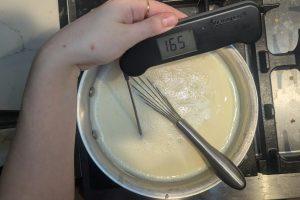
- Strain the hot custard into the bowl, then stir in 1 g kosher salt.
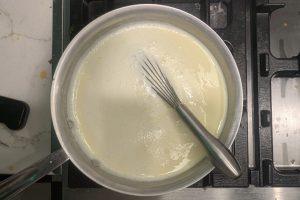
- Place the bowl into the ice bath and whisk often for about 15 minutes, or until the custard reaches about 75°F.
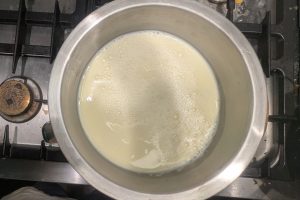
- Cover the bowl with plastic wrap and place it in the refrigerator for 4-6 hours, or overnight, to age and chill.
- Once the custard has chilled, pre-chill your ice cream maker according to the instructions. Pour in the custard with the machine running. Allow the custard to churn according to the machine’s instructions. This will take anywhere from 20-45 minutes, depending on the machine.
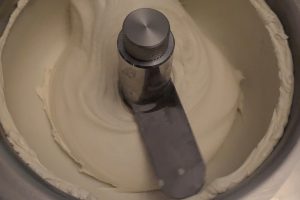
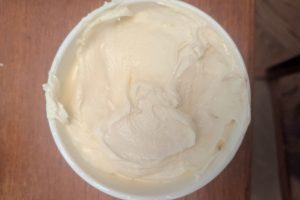
- Scoop the ice cream into pints with wax paper pressed onto the surface to prevent ice crystals, and set in the freezer for at least 4 hours, or overnight, to fully set and age.
Notes
- I like guar gum because it’s not heat-activated and it doesn’t leave a sticky film in my mouth like carageenan does. You can swap for your favorite stabilizer or stabilizer blend, or leave it out completely.
- Whisking the guar gum into the sugar before adding any liquid helps it to evenly distribute without clumping, leading to a smoother base.
- The egg yolks add plenty of stabilization and emulsification here. You can add an extra egg yolk if skipping the guar gum, but I find adding too many yolks dulls the flavor of the honey and vanilla.
- I’m not usually a mise en place gal, but it’s necessary for ice cream. Things move quickly, and you need to be stirring the custard the entire time to prevent the dairy from scorching. Get all of the ingredients measured out, and set up your ice bath before you start cooking!
- If you don’t have a thermometer (get one!), the milk will start to steam when it’s close to 110°F, and the custard will coat the back of a spoon when it’s close to 165°F.
- I always strain my custard after cooking to remove any potential cooked egg bits. They’ll ruin the flavor and texture of your ice cream if you leave them in.
- While you can churn this the same day, I highly recommend letting it rest overnight in the refrigerator. It’ll be as cold as possible, so it’ll churn faster, and the flavors will develop as it sits.
- Because this base is a dense custard, make sure your compressor has been pre-cooled for 10 minutes to ensure a fast draw time.
- The same goes for chilling after churning. You can enjoy a softer consistency the same day, but I find the texture is best after an overnight chill.