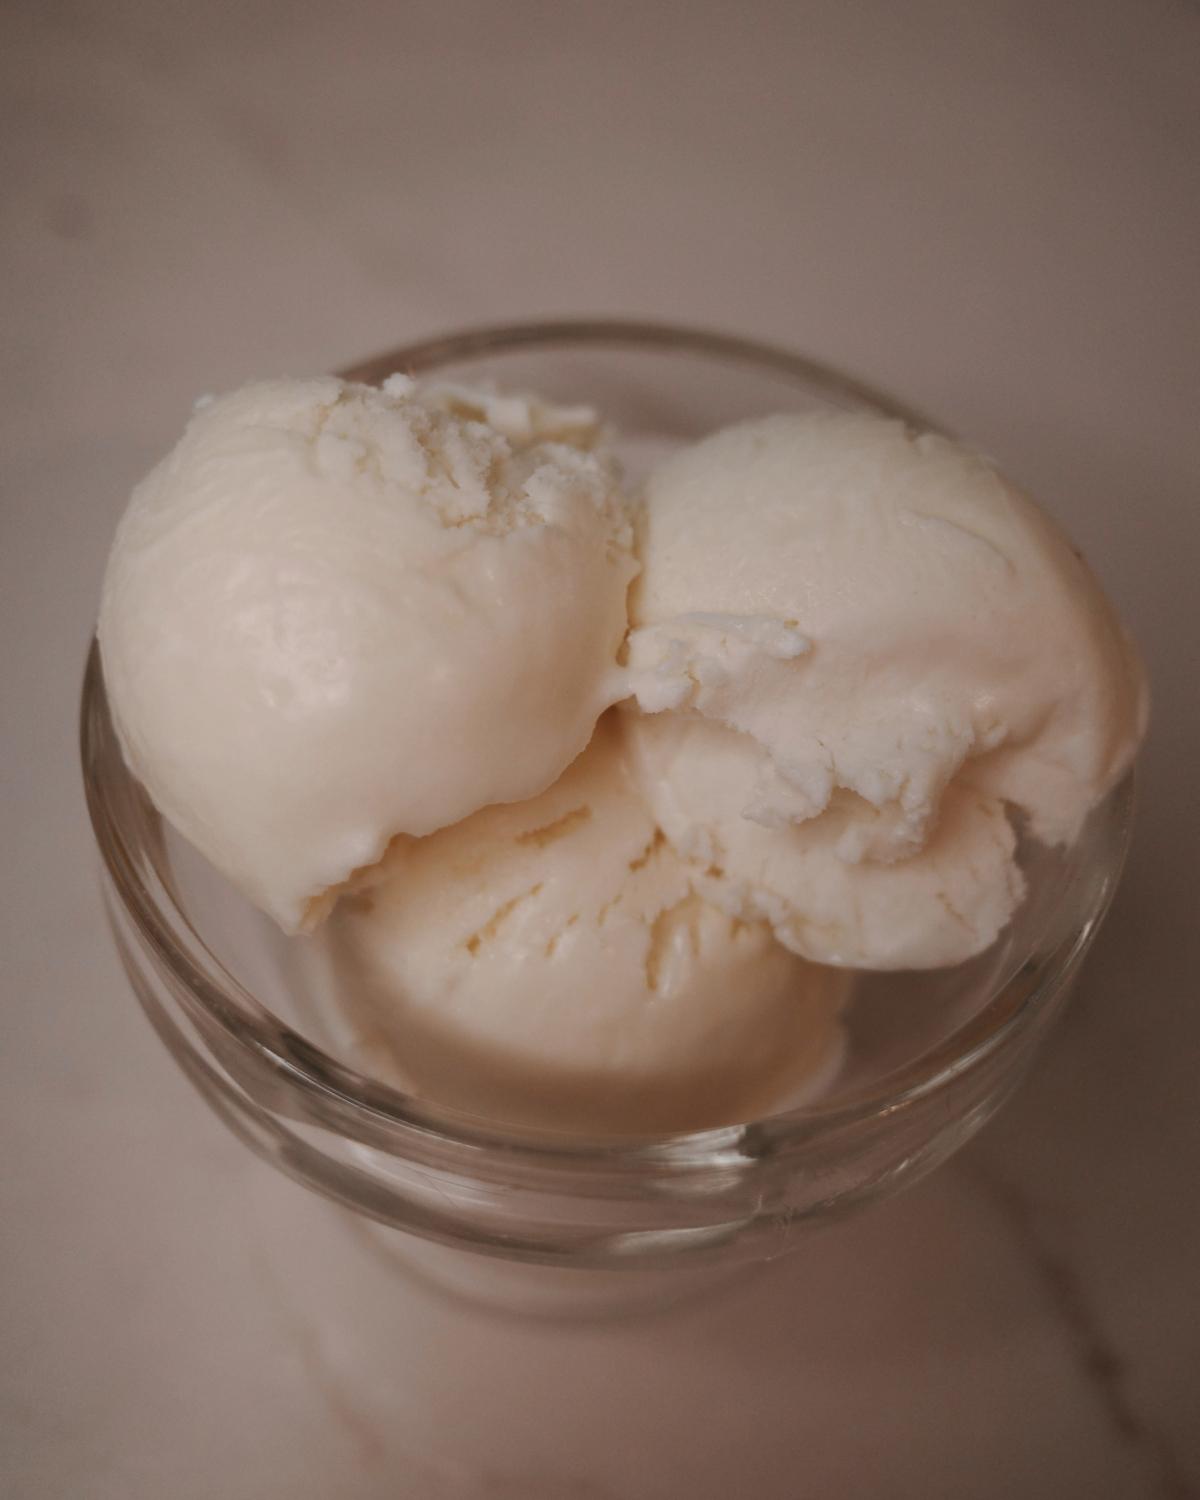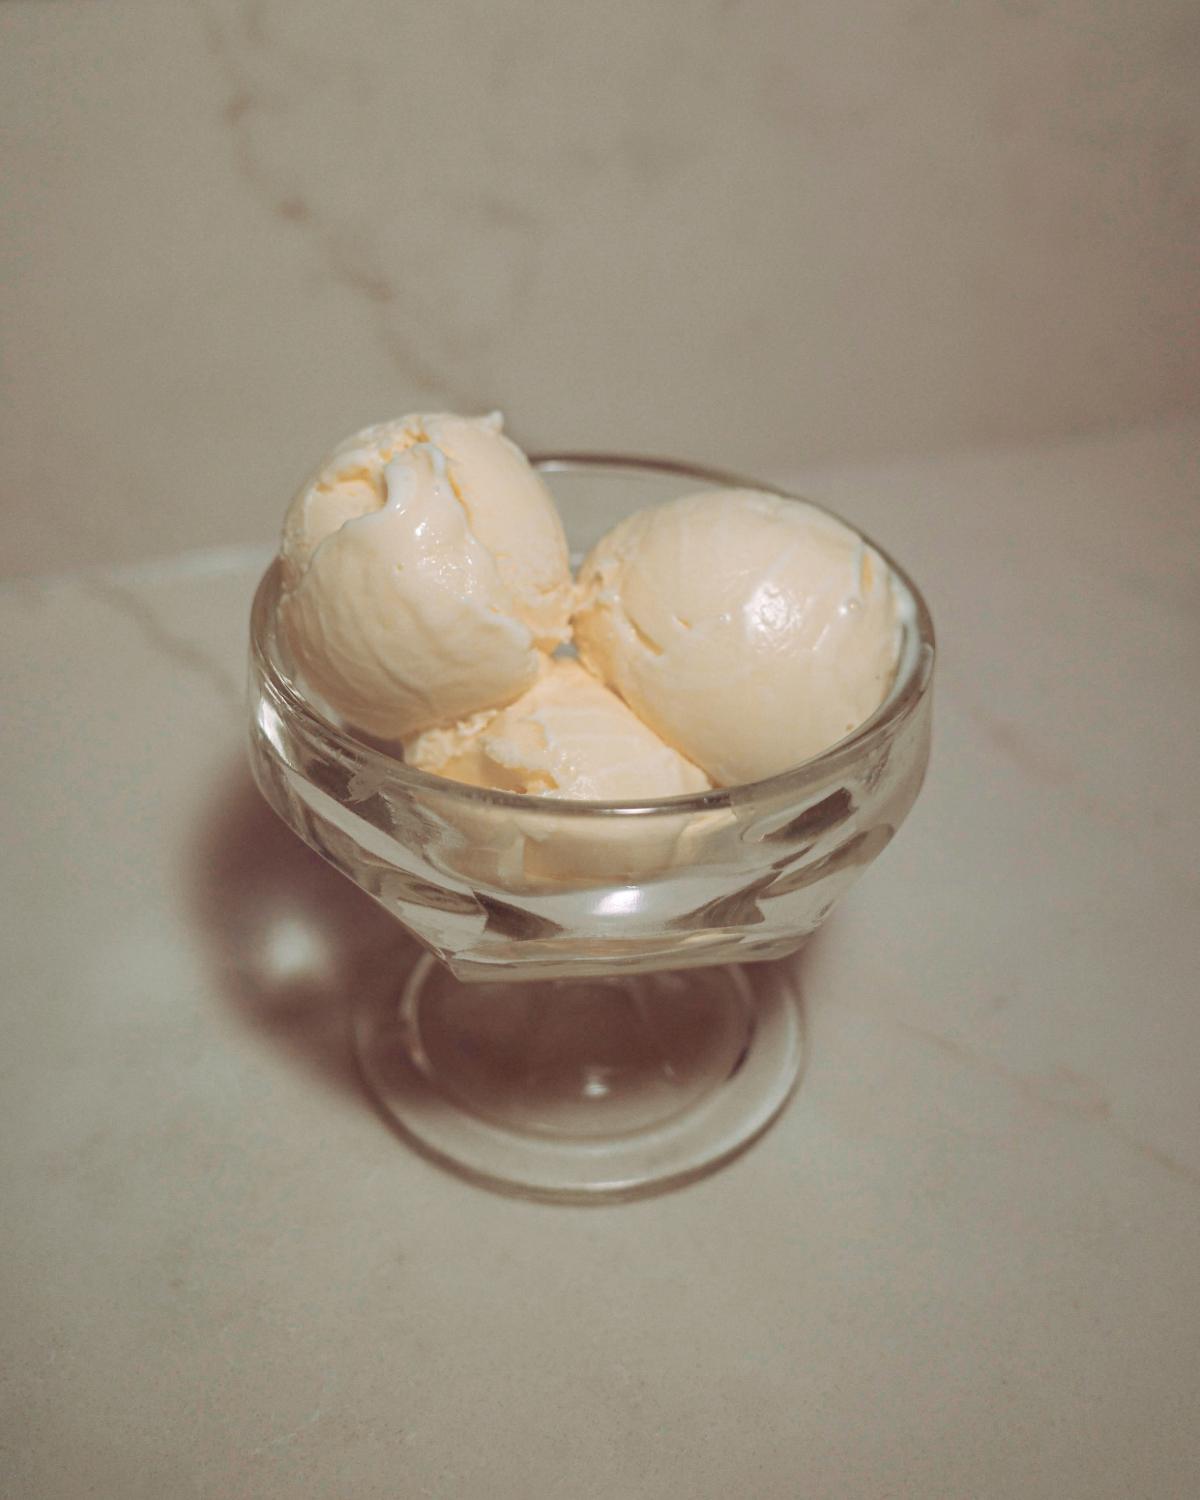
You’ve churned the perfect batch of homemade ice cream. It’s beauty, it’s grace… Now, how do you store it? In the freezer, right? Well, yes, but it’s a bit more complicated than that. The homemade stuff is more delicate than store-bought for a number of reasons, and knowing how to store homemade ice cream is just as important as how you churn it. Below, I’ll cover why homemade ice cream behaves differently in the freezer, how to protect its texture, and how long you can expect it to last.
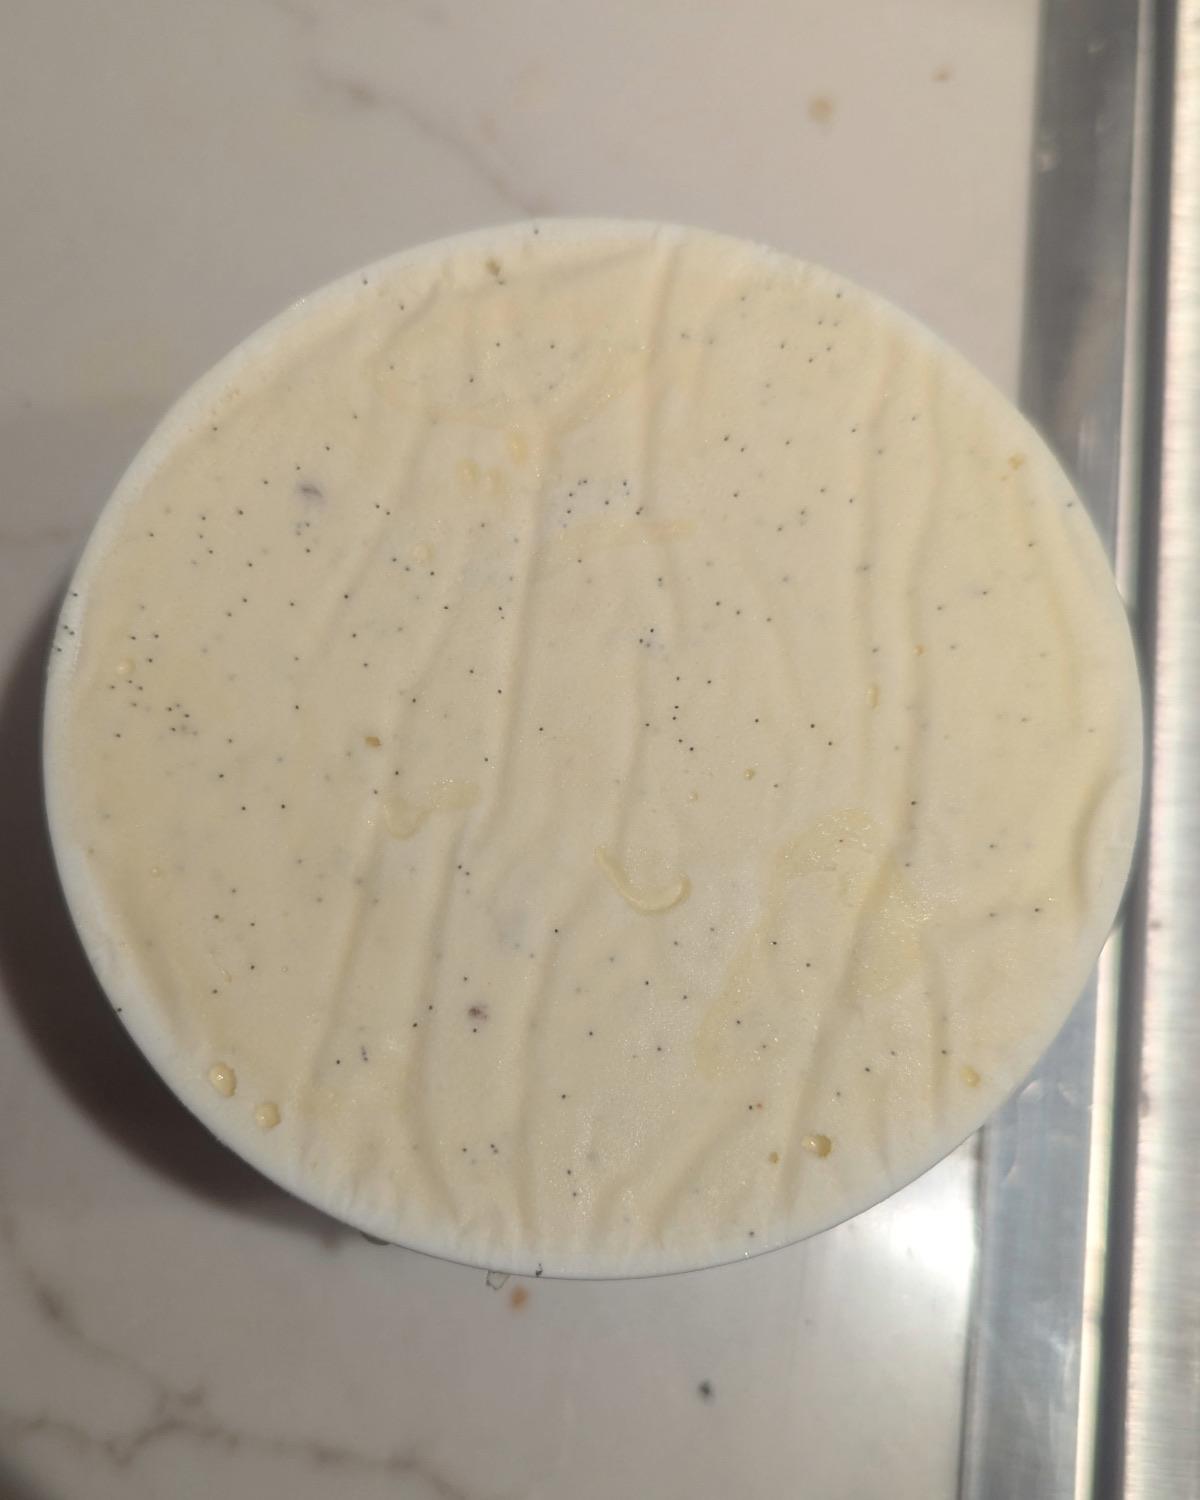
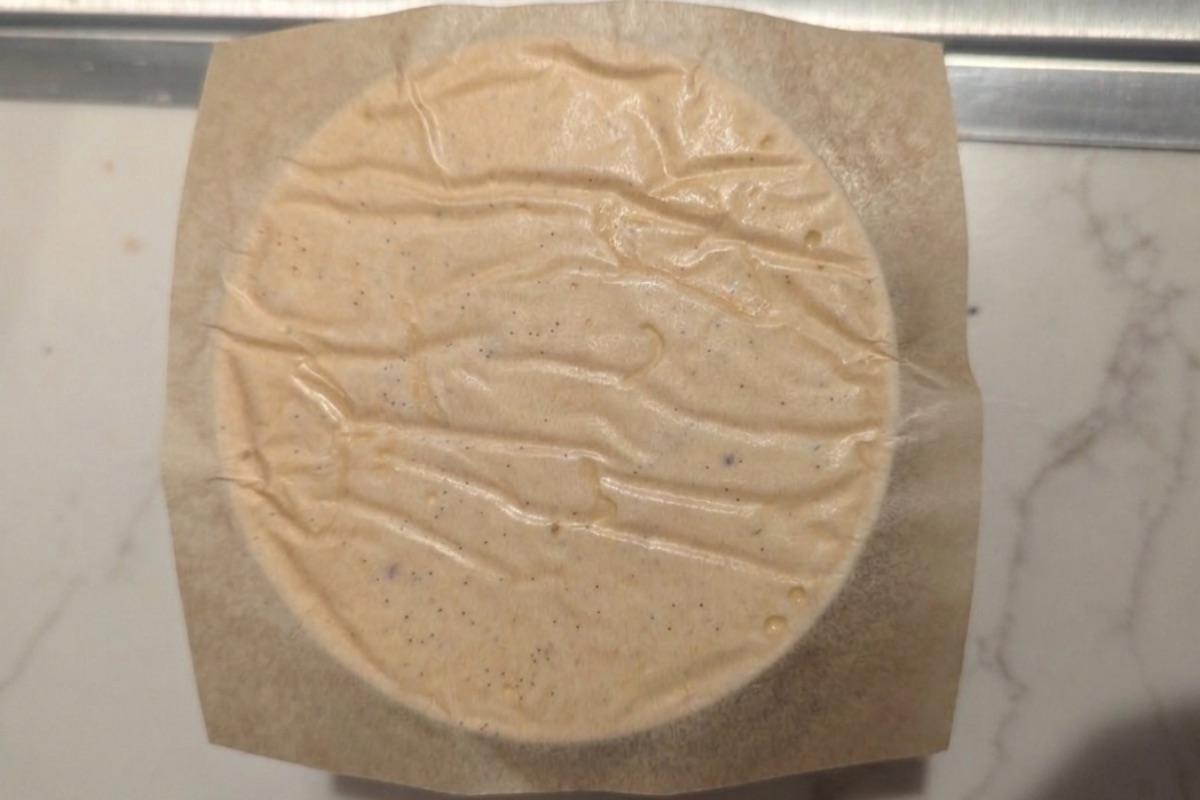
The short answer: store homemade ice cream in an airtight container in the back of the freezer, with plastic wrap or wax paper pressed directly onto the surface before the lid goes on. That one habit fixes most texture problems. How long it stays at its best after that depends on your base—see the table below.
Why Homemade Ice Cream Doesn’t Keep Like Store-Bought
You might assume homemade ice cream would keep just as well as the pint you grab at the grocery store. After all, what’s so different between the two?
Quite a lot, it turns out.
Store-Bought Ice Cream Storage
Commercial ice cream is made in a purpose-built facility where temperature is controlled at every single step. It’s transported to stores and scoop shops in refrigerated trucks designed specifically for frozen goods, and stored in highly regulated commercial freezers built for long-term preservation. At shops that make ice cream in-house, freshly churned batches go straight into a blast chiller—a piece of equipment that drops the temperature of food so rapidly that ice crystals barely have a chance to form.
Homemade Ice Cream Storage
Homemade ice cream, on the other hand, is made in a home kitchen with all the variability that implies. Your ambient temperature, the warmth of your hands on the container, the brief moment it spends on the counter—all of it matters. And home freezers cycle on and off for energy efficiency, which causes the internal temperature to fluctuate. That fluctuation is the enemy of smooth ice cream. It causes the small ice crystals you worked so hard to create during churning to melt slightly and refreeze larger—a process called recrystallization. This is the same mechanism I break down in more detail in why ice cream turns icy.
You can combat some of this with stabilizers (more on that below), but the reality is that you can’t fully recreate commercial freezing conditions at home. What you can do is set yourself up for success with a few simple habits.
Does the Container You Use to Store Homemade Ice Cream Actually Matter?
Yes—more than most people realize.
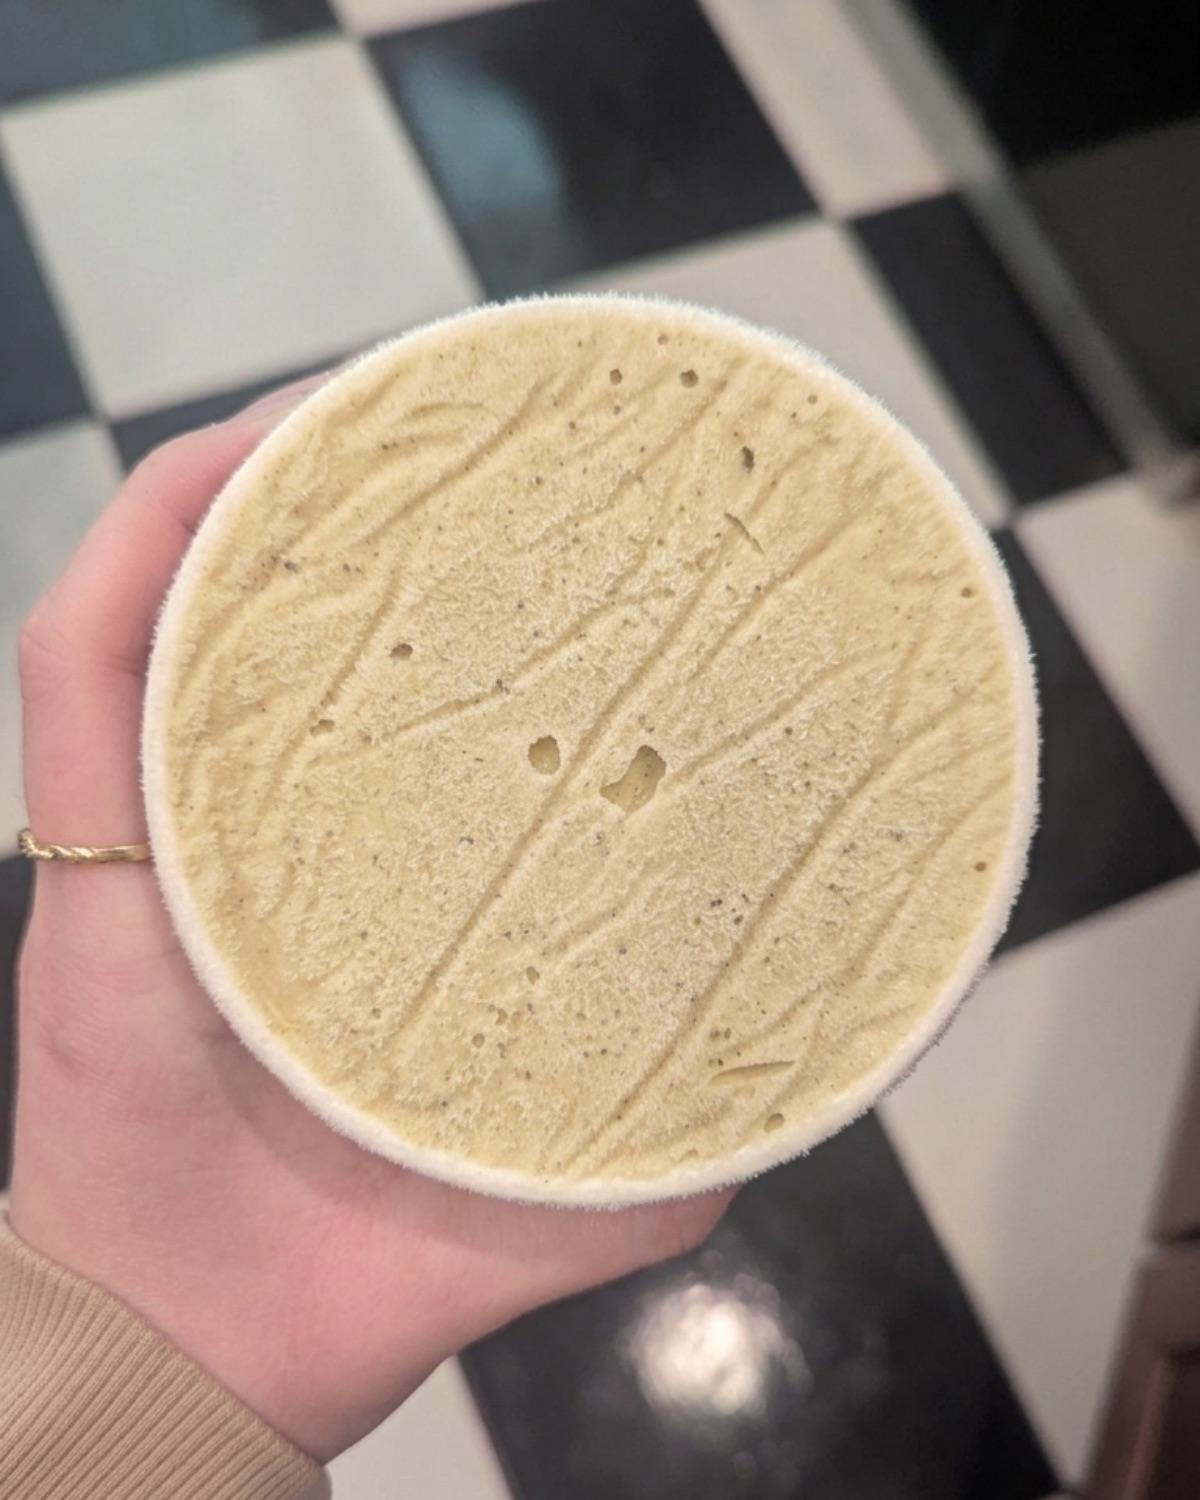
A shallower, wider container will freeze your ice cream faster, which does help minimize ice crystal growth in the critical first few hours. The tradeoff is that those containers are cumbersome, take up a disproportionate amount of freezer space, and aren’t exactly gift-friendly. For most home cooks, they’re not practical.
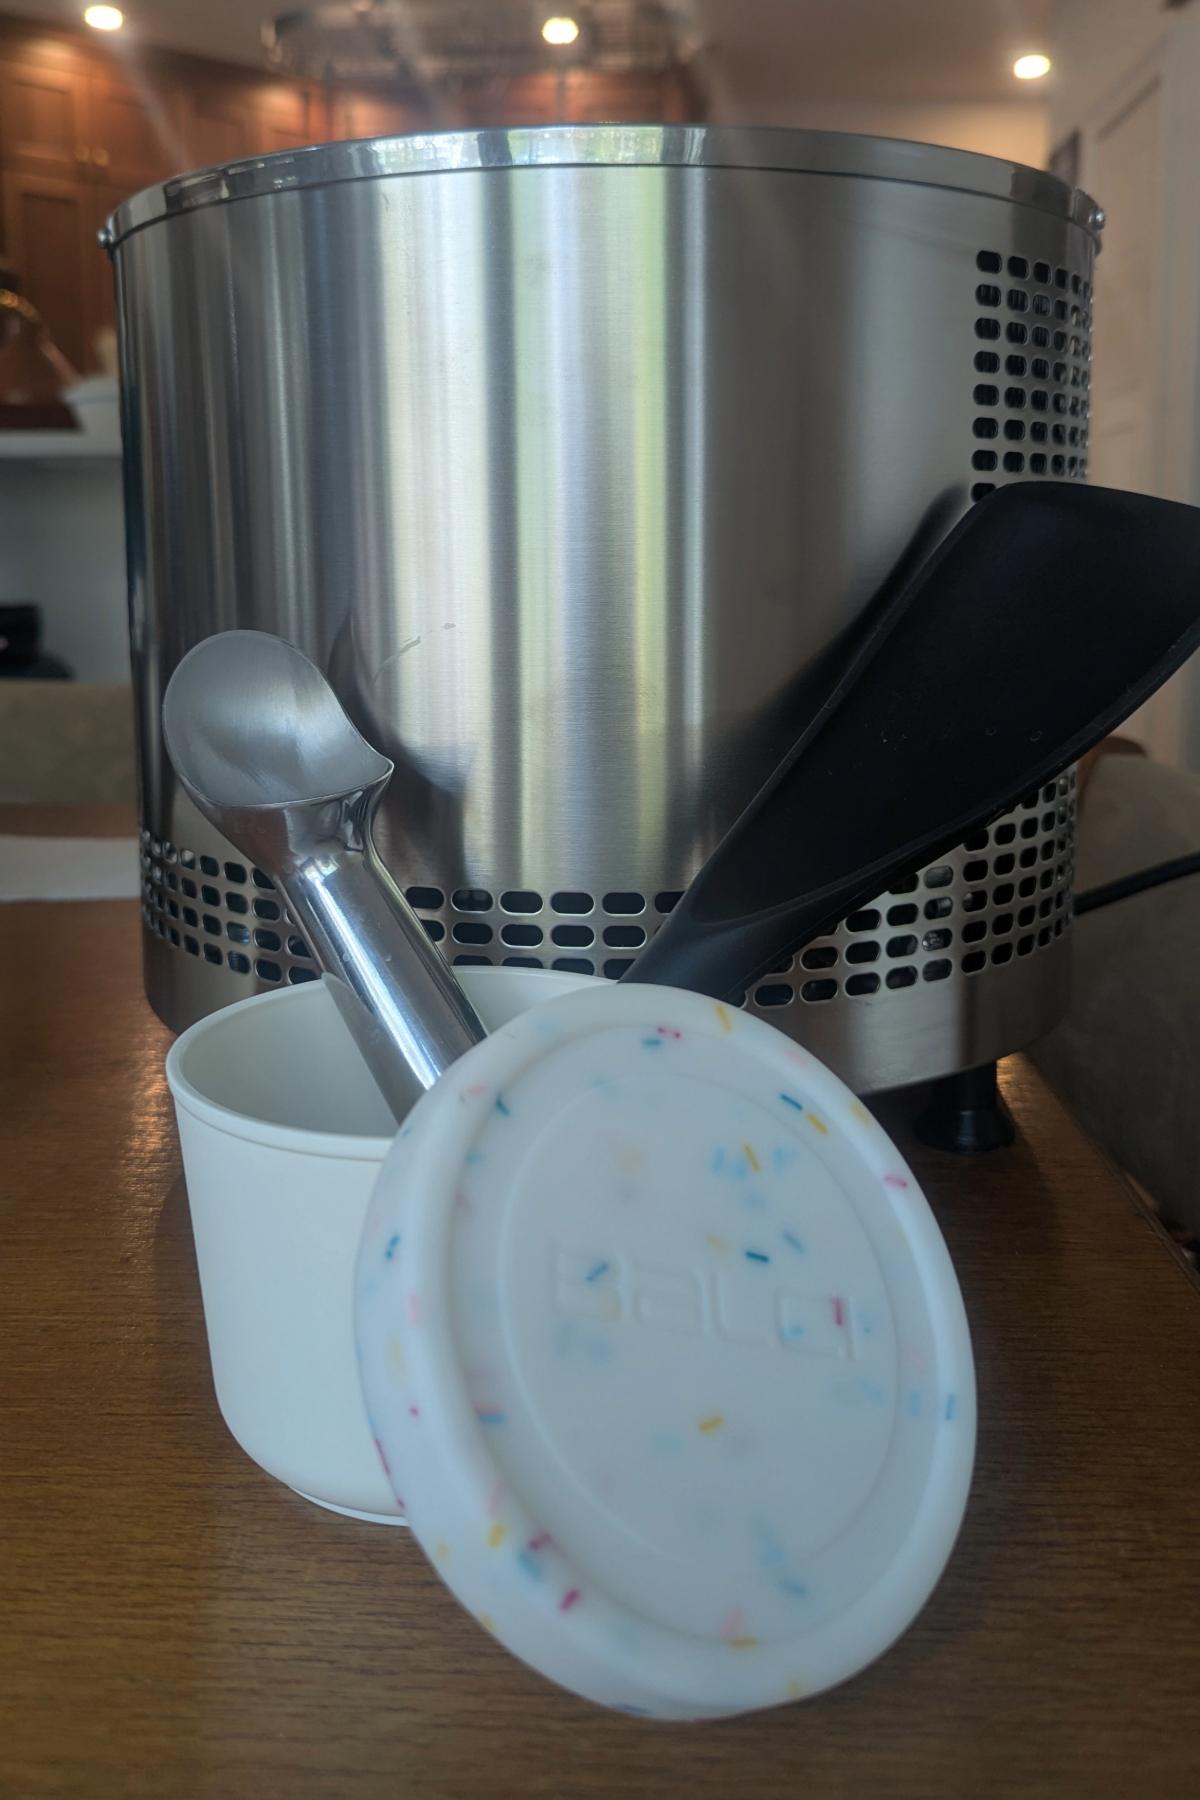
The good news is that the standard pint containers you find at the grocery store (the ones your store-bought ice cream comes in) work beautifully, as long as you make sure they’re airtight. Reusable pint containers with tight-fitting lids are even better—they seal more reliably than lids that have been pried off and snapped back on a dozen times. I cover my specific container picks in my ice cream tools post if you want more detail.
Whatever container you use, fill it as full as you can without overflowing. More headspace means more air, and more air means more opportunity for ice crystals to form on the surface.
Where in the Freezer Should I Store My Homemade Ice Cream?
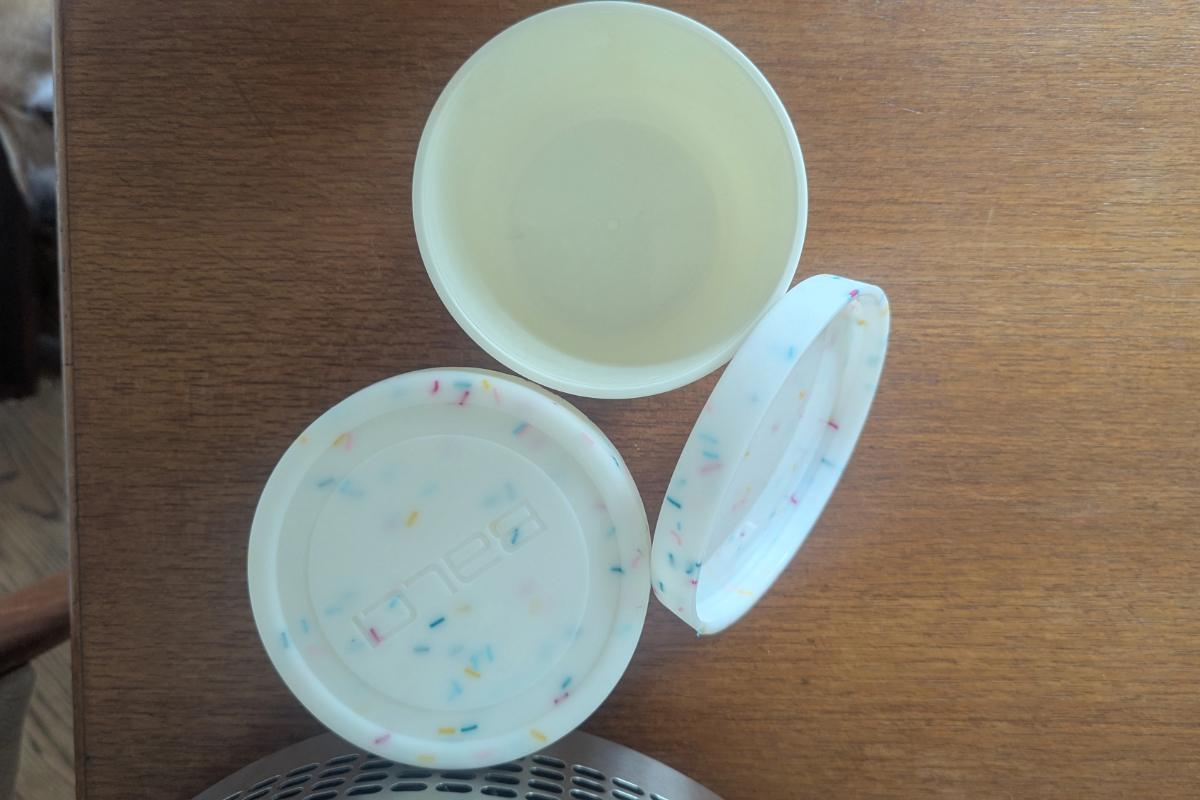
The back. Always store homemade ice cream in the back of the freezer.
Temperature consistency matters more than how cold your freezer runs. As mentioned above, home freezers cycle on and off, and the areas nearest to the door fluctuate the most—sometimes by several degrees—every time you open and close it. The compressor zones toward the back and bottom of your freezer maintain the steadiest temperature, and that’s exactly what you want for ice cream.
Keep your freezer set to 0°F or below. If you’re not sure whether yours is hitting that target, a simple freezer thermometer will tell you.
How Long Does Homemade Ice Cream Last in the Freezer?
This is the question I get most often, and the honest answer is: it depends on your base.
The full storage life of homemade ice cream varies significantly by style—and stabilizers make a meaningful difference in every category. Here’s what to expect:
| Ice Cream Style | Peak Window (Standard) | Peak Window (Stabilized) | Why Stabilizers Matter Here |
|---|---|---|---|
| Custard-Based (Egg Yolk) | 1–2 weeks | 4–6 weeks | Egg yolks are natural emulsifiers (lecithin), but added stabilizers prevent any remaining unbound water from turning into coarse ice crystals during freezer temperature cycles. |
| Eggless / Philadelphia | 7–10 days | 3–4 weeks | Lacking the natural fat-binding power of egg yolks, these bases rely heavily on stabilizers to build body and mimic a traditional custard mouthfeel over time. |
| Dairy-Free (Coconut, Oat, etc.) | 5–7 days | 2–3 weeks | Plant milks often have volatile water-to-fat ratios. Stabilizers bridge that gap, preventing the base from separating and freezing solid. |
| Fruit-Forward Flavors | 5–7 days | 2 weeks | Fruit purees introduce a large amount of un-bonded water and natural sugars. Stabilizers cage that water, preventing an icy, sorbet-like texture from ruining the scoop. |
A Few Things Worth Noting
- These windows refer to peak texture, not food safety. Ice cream that’s been in the freezer for six weeks isn’t dangerous; it’s just likely to be icier and less creamy than it was fresh. The goal is to eat it while it’s still at its best.
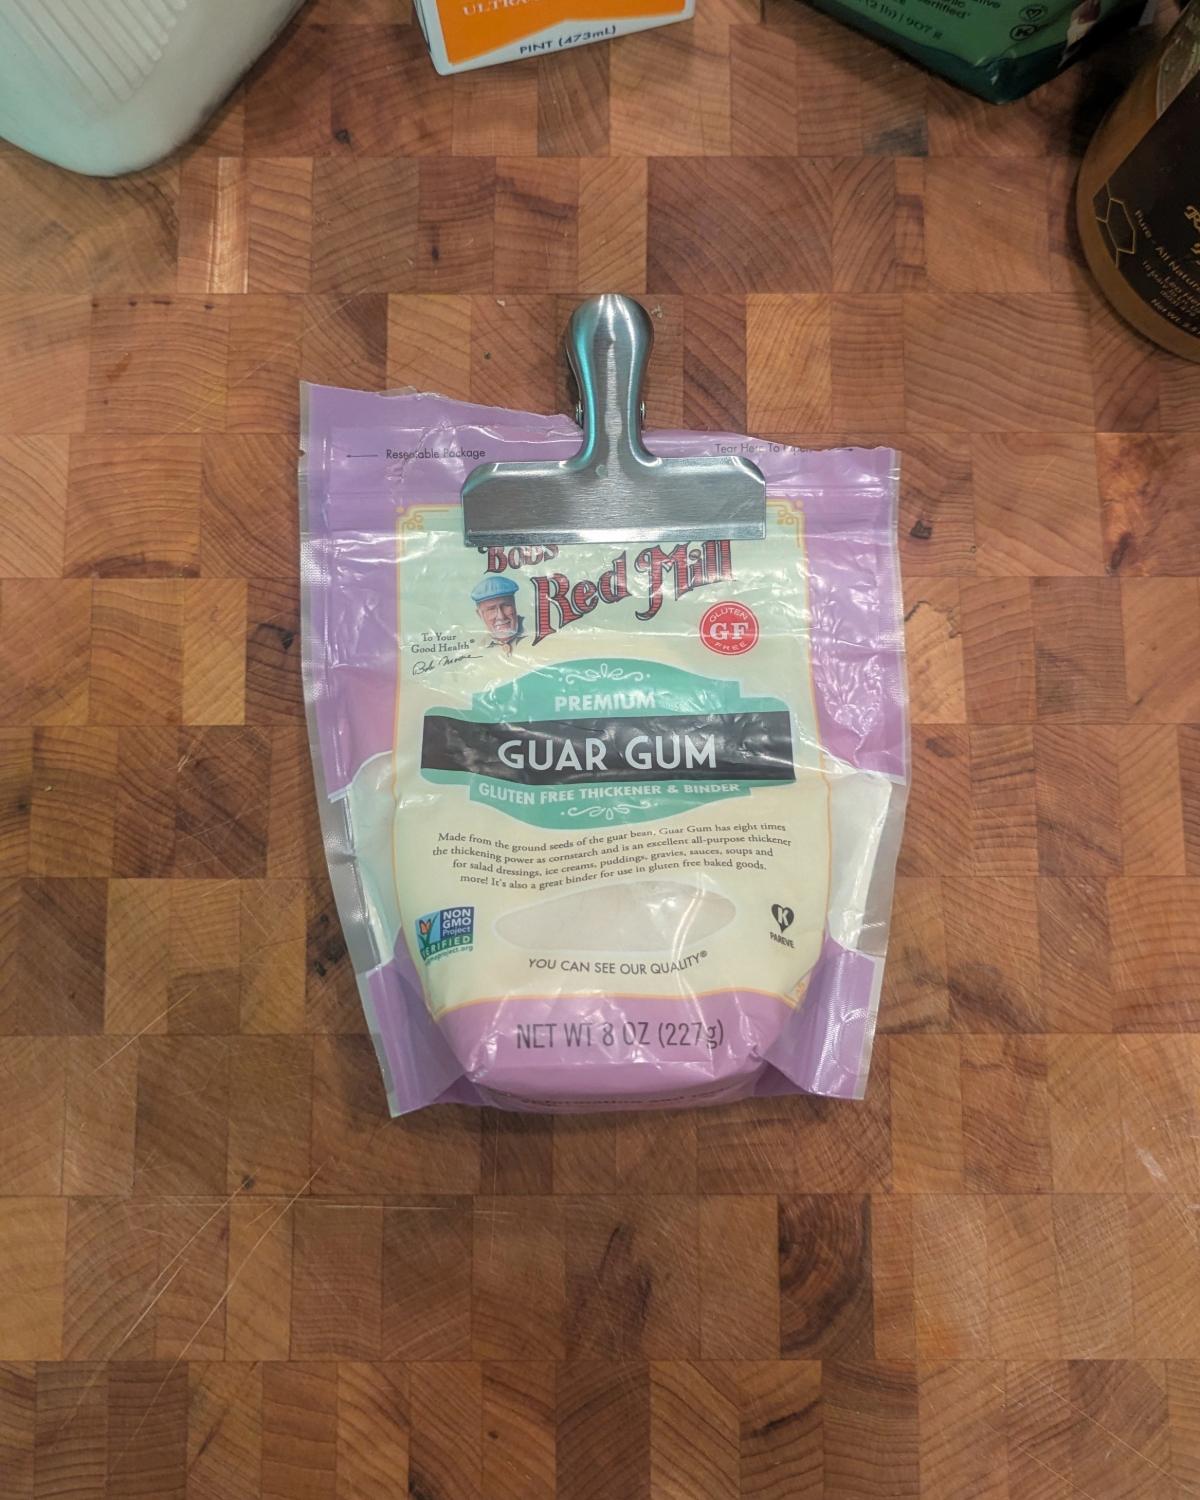
- Also, “stabilized” here refers to bases made with added stabilizers like guar gum, carrageenan, or a commercial blend—not just the natural emulsifying properties of egg yolks or coconut fat. I go deeper on which stabilizers work best and how to use them in my stabilizers 101 post.
How to Get a Clean Scoop Straight from the Freezer
If you’ve pulled a pint of homemade ice cream from the freezer and immediately bent a spoon trying to scoop it, you’re not alone. Homemade ice cream freezes significantly harder than store-bought, and there are two reasons for that.
First, commercial ice cream contains more air (called overrun) than most homemade batches—sometimes up to 100% more by volume. Air acts as an insulator, keeping the texture light and scoopable even at very cold temperatures. Second, store-bought ice cream often contains softening agents that keep the texture pliable straight from the freezer. Your homemade custard has neither of those things working in its favor, which means it needs a little head start.
The Fix is Simple: Temper It
Take your container out of the freezer and let it sit on the counter for 5–10 minutes before you scoop. If you want to get into the habit, pull it out while you’re grabbing bowls and toppings, and by the time you’re ready to serve, it’ll be perfectly scoopable.
A Warm Scoop Also Helps
Run your ice cream scoop under hot water for a few seconds, shake off the excess, and it’ll glide through even a firm custard base. Just dry it slightly if you don’t want a slick of water in your bowl.
Avoid Microwaving
Even a few seconds can create hot spots that partially melt your ice cream unevenly, encouraging large crystal formation when it refreezes. Patience and a warm scoop will always give you a better result.
The One Ice Cream Storage Habit that Makes the Biggest Difference
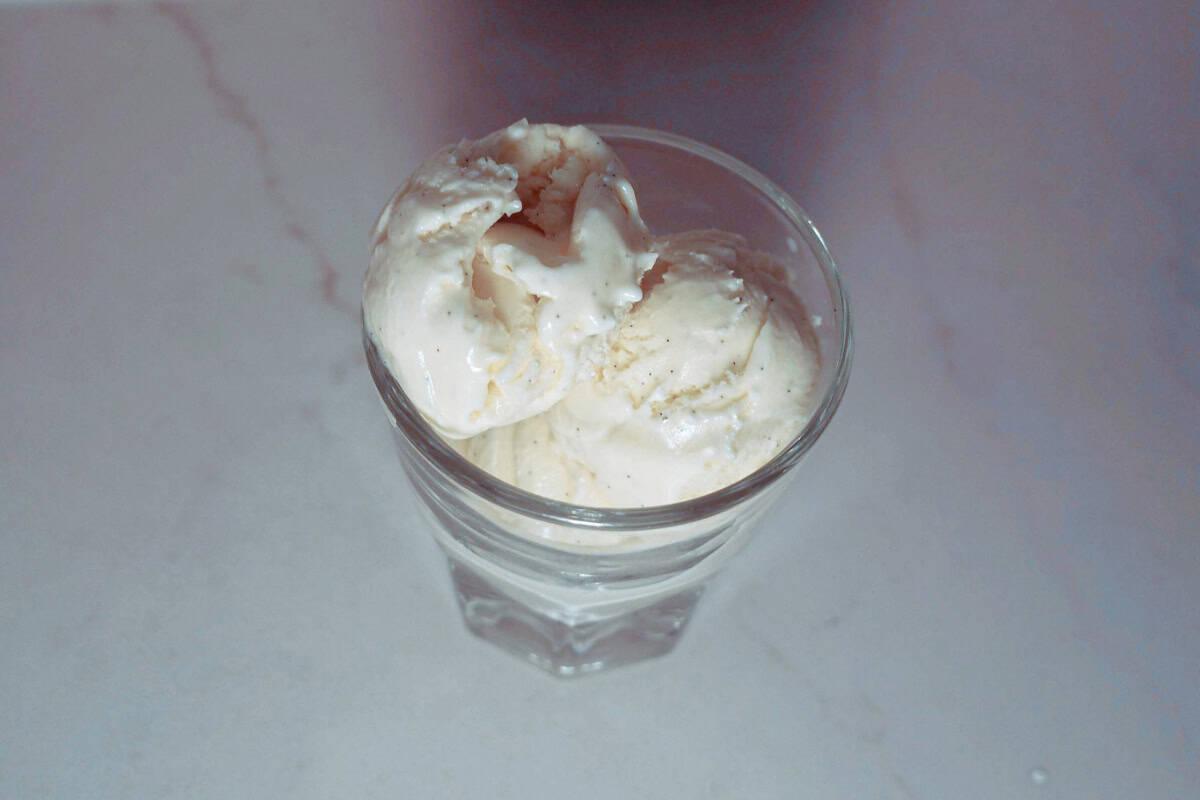
If you take nothing else from this post, take this: press a piece of parchment paper, wax paper, or plastic wrap directly onto the surface of your ice cream before putting the lid on.
This one habit will do more for the longevity of your homemade ice cream than almost anything else. That layer of plastic eliminates the air gap between your ice cream and the lid—and air is where freezer burn and surface ice crystals come from. When the plastic is flush against the surface, there’s nowhere for moisture to condense and refreeze.
It takes about four seconds. It costs almost nothing. And it’s the difference between scooping a perfect pint two weeks later and finding a sheet of ice where your salted caramel used to be.
Frequently Asked Questions
Creamy for Longer
Six habits that make the difference between a perfect scoop and a sheet of ice.
Less headspace means less air, and less air means fewer surface crystals.
A simple freezer thermometer will tell you if yours is hitting that mark.
The back maintains the most consistent temperature through every cycle.
Homemade freezes harder than store-bought. A short rest on the counter fixes that.
A warm scoop glides cleanly through even the firmest custard base.
Every melt-refreeze cycle makes crystals larger. Get leftovers back in the freezer fast.
Flush against the ice cream, no air gap, before the lid goes on. This single step does more for long-term texture than almost anything else.