
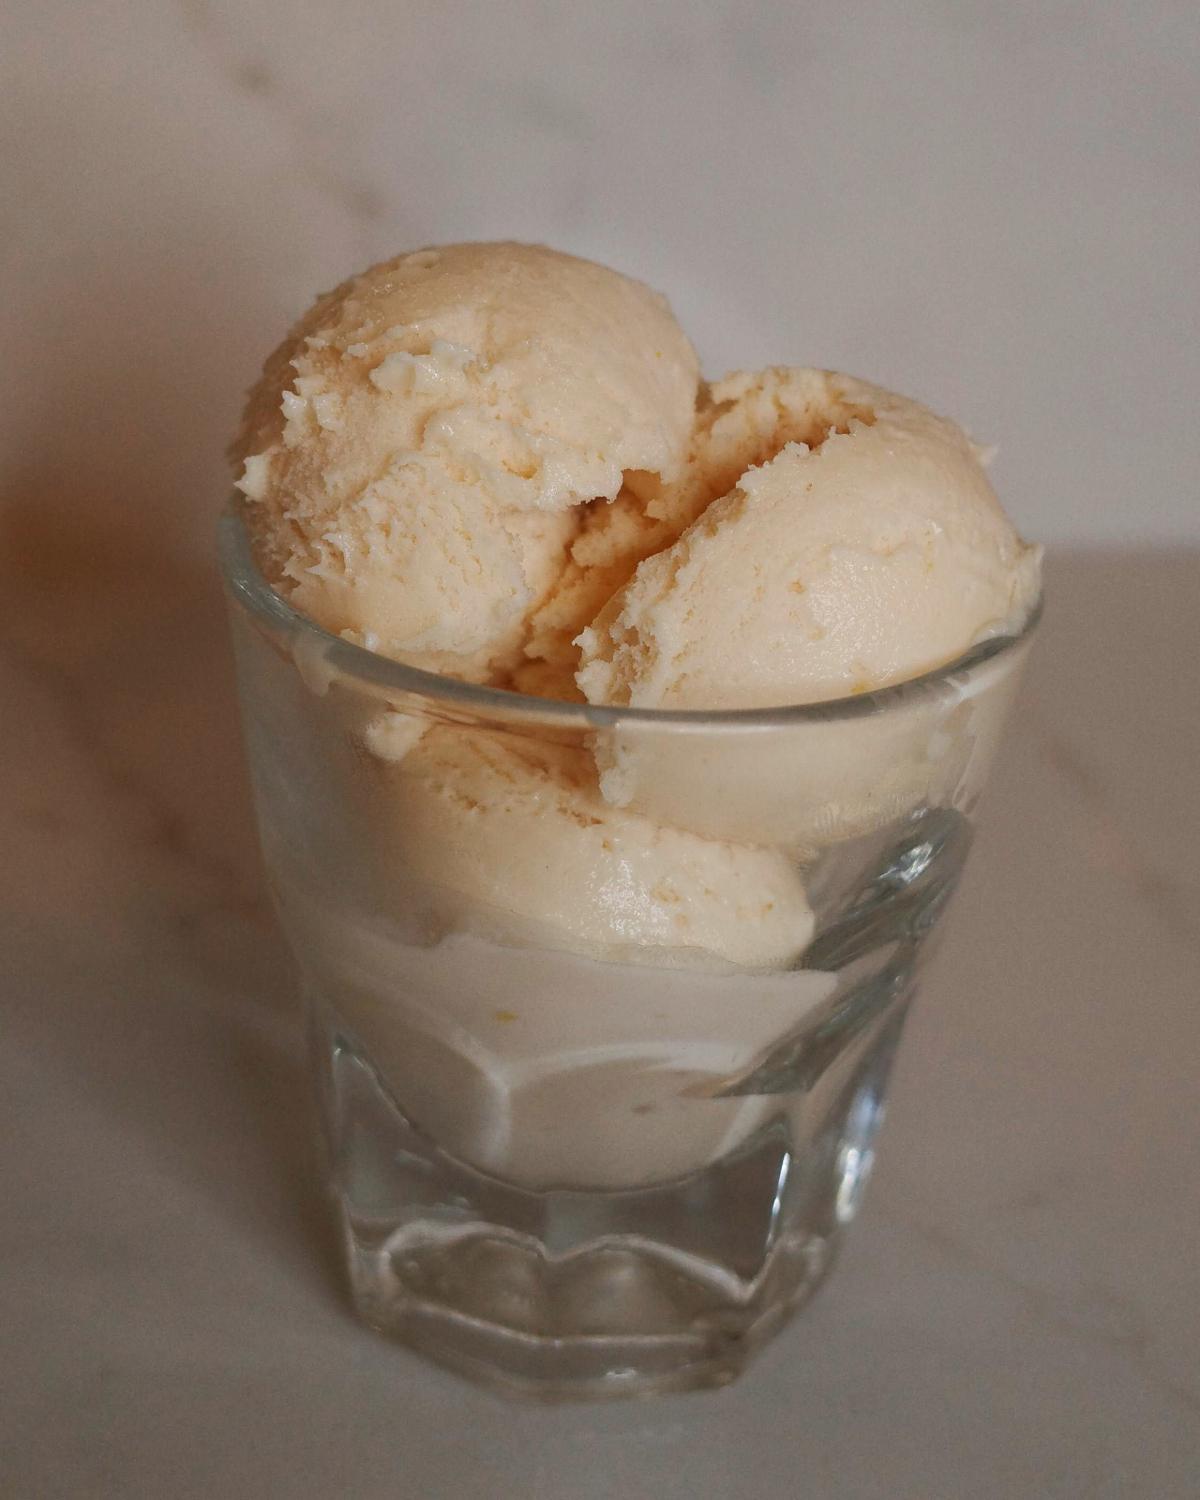
This blood orange ice cream is dense, creamy, and bright with citrus flavor. Blood oranges are naturally high in water, which tends to be the enemy of smooth homemade ice cream. But my recipe solves that with a science-backed custard base: skim milk powder to absorb free water, zest steeped into warm cream for maximum flavor, and juice added only after the custard cools to avoid dulling its flavor. The result tastes like an elevated orange creamsicle–the kind you’d pay too much for at a fancy scoop shop.
This recipe was born from nostalgia. Back in the heyday of Pinkberry (I just found out they still exist–mind blown!), my favorite frozen yogurt flavor of theirs was blood orange. It had a beautifully sharp citrus flavor, and the raspberry-like sweetness of the blood oranges blended so well with the tangy yogurt. I was never much of a frozen yogurt lover over ice cream, and frankly, I’m glad to see that trend has mostly died out. But I still dream about that blood orange yogurt.
I first made this blood orange ice cream recipe in early 2021. I was deep into a citrus kick mid-pandemic, and I wanted to make Claire Saffitz’s Blood Orange Olive Oil Cake from Dessert Person. I ended up with quite a few leftover blood oranges, and so I decided to finally take a crack at creating a custard version of my favorite Pinkberry treat.
Citrus Infused Ice Cream Made with My Favorite Custard Base
I’m a big proponent of keeping it simple, so I added a bit of blood orange juice and zest to my favorite custard base with no other adjustments. That was my baseline for experimentation, and it turned out to be my favorite iteration. There’s no need to remove the eggs–the citrus flavor shines through beautifully. What you end up with is a citrus-forward ice cream that tastes like an elevated orange creamsicle.
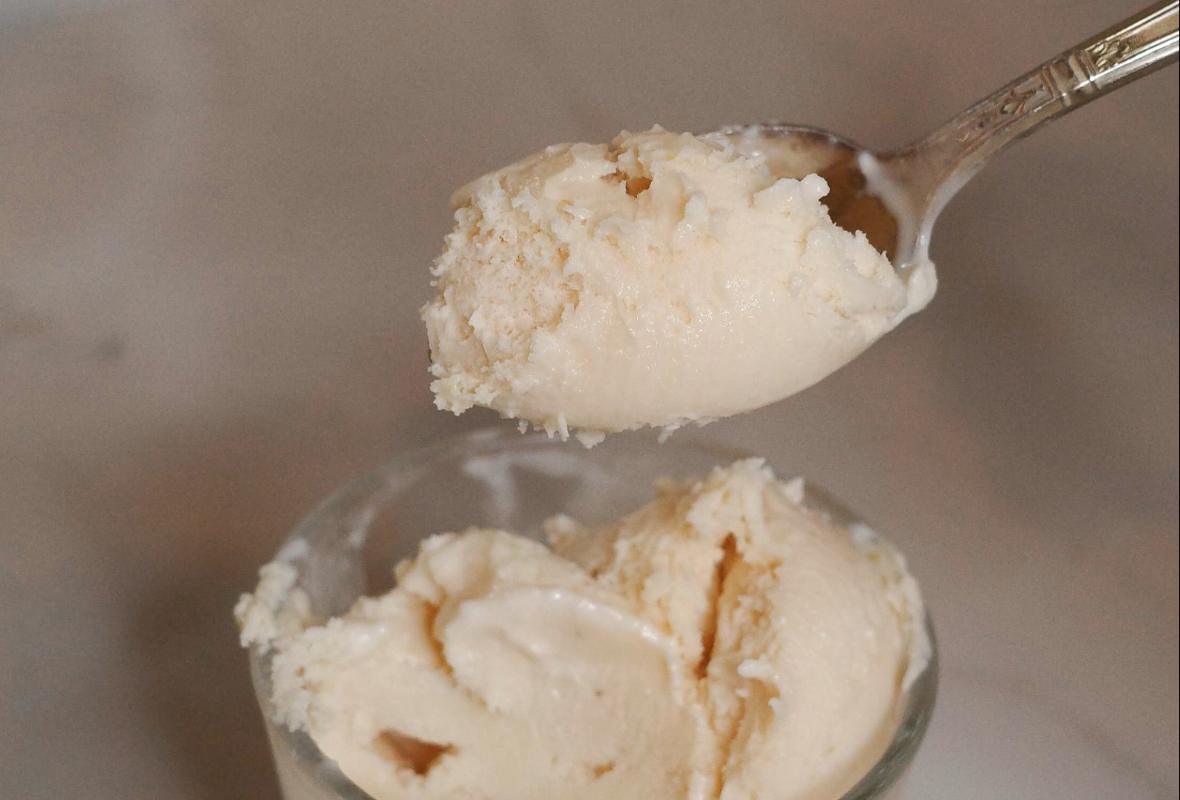
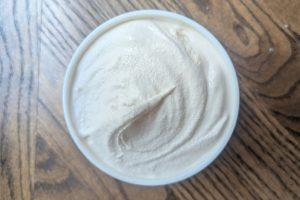
Here are the final specs for this batch. This is a premium/super premium ice cream that’s soft and scoopable straight from the freezer.
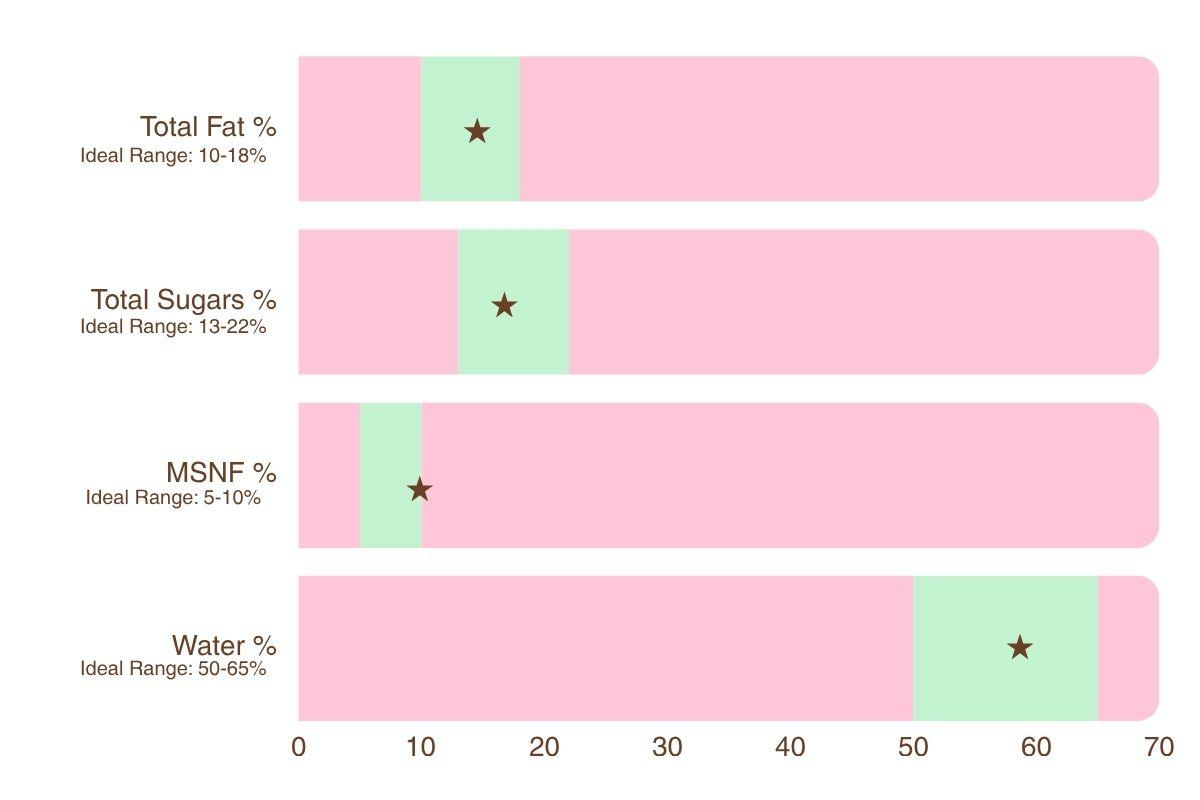
- Total Fat: 15%
- Total Sugars: 19%
- MSNF: 10%
- Water: 60%
- POD: 148
If you want to understand what these numbers mean and how to adjust them for your own recipes, my base ratio guide covers it all.
One more thing worth noting: this method works with any citrus. Regular oranges, lemons, limes–they all follow the same logic, same ratios, same technique. So if you can’t find blood oranges, you’re not stuck. But if you can find them, use them. That deep ruby color and the flavor that comes with it are worth hunting down.
How to Prevent Ice Crystals in Citrus Ice Cream
The biggest challenge with citrus ice cream is the juice itself–it’s mostly water, and water is what creates an icy, grainy texture. Here’s how to fight back:
- Add skim milk powder: This helps absorb free water from the citrus and milk to prevent it from crystallizing.
- Use stabilizers: I add just a pinch of guar gum to increase the viscosity of the custard, which also helps inhibit crystal growth.
- Don’t heat the juice: Heating citrus breaks down its fibers, which can lead to a thinner custard that crystallizes more easily.
- Add enough sugar: Sugar helps depress the freezing point of free water, maintaining a soft and scoopable texture. Don’t try to lower it here–we’re not making health food!
- Freeze quickly: Chilling the custard overnight and using a compressor-style ice cream machine helps freeze the custard more quickly, creating smaller crystals. Aim for a draw temperature of 22-26°F. Place the ice cream in the back of the freezer (the coldest part) immediately after churning to harden quickly. The faster it hardens, the less time crystals have to form.
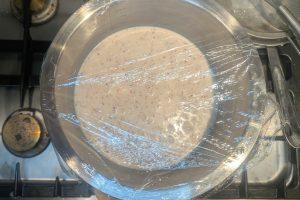
- Airtight seal: Press wax paper or plastic wrap directly onto the surface of the ice cream before putting the lid on to prevent surface frost from forming.
How to Preserve Blood Orange Flavor
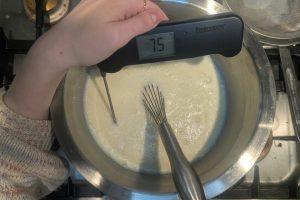
To keep that blood orange flavor bright and bold, I steeped the zest directly into the hot custard to infuse the natural essential oils into the fats. Then, I waited to add the vibrant blood orange juice until the custard was cooled to room temperature (75°F). This prevented any of that flavor from cooking off, leading to a super-strong blood orange flavor.
Blood Orange Ice Cream Recipe
Ingredients
- 150 g cane sugar
- 0.3 g guar gum ⅛ tsp, optional
- 60 g skim milk powder
- 400 g whole milk 3.25% fat
- 400 g heavy cream 36% fat
- 42 g egg yolks from 3 medium eggs
- 6 g blood orange zest 1 tbsp, from 2 oranges
- 60 g blood orange juice ¼ cup, from 2 oranges
Equipment
- Microplane Zester
- Citrus Juicer
- 2-Quart Saucepan
- Whisk
- Ice Bath
- Instant-Read Thermometer
- Fine-Mesh Sieve
- Compressor-Style Ice Cream Maker
Video

Method
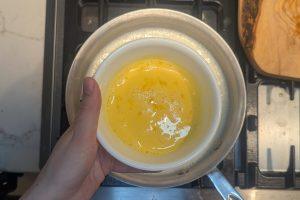
- Portion out all of your ingredients so you're ready to go. Crack 42 g egg yolks into a small bowl and whisk well. Set aside.
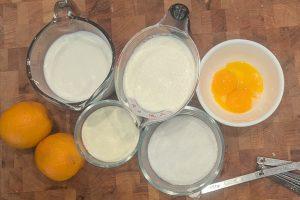
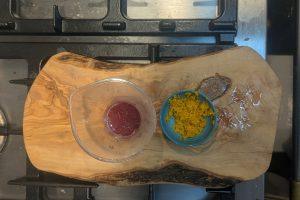
- Zest, then juice 2 blood oranges. This should yield 6 g blood orange zest (about 1 tbsp) and 60 g blood orange juice (about ¼ cup). Set aside.
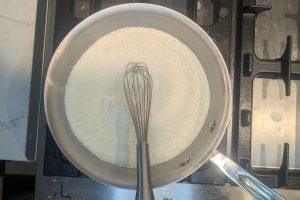
- Grab a saucepan that holds at least 2 quarts of liquid. Pour in 150 g cane sugar, then whisk in 0.3 g guar gum (if using) to evenly distribute it.

- Add 60 g skim milk powder and whisk well to combine.
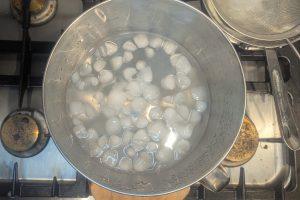
- Prepare an ice bath by filling a large bowl with cold water and several handfuls of ice cubes. Set aside.
- Pour 400 g whole milk into the pan with the sugar/SMP mixture, and whisk until the sugar/SMP have mostly dissolved.
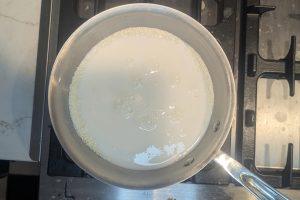
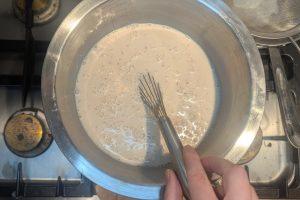
- Add 400 g heavy cream and whisk again until the mixture feels smooth.
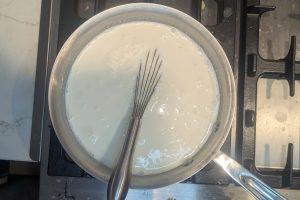
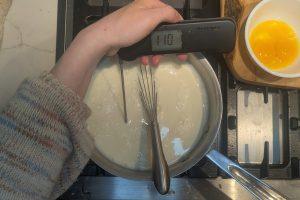
- Gently heat the pot over medium-low, whisking constantly, until it reaches 110°F on an instant-read thermometer. Once it reaches temperature, immediately remove it from the heat.
- Take a ladleful of the warm cream mixture, and stream it slowly into the egg yolks, whisking vigorously to prevent curdling.
- Once the mixture is smooth, pour the egg/cream mixture back into the saucepan, and whisk well until the liquid takes on a yellowish hue.

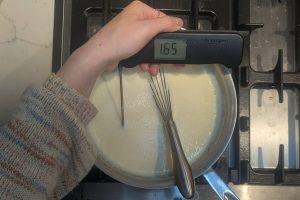
- Return the pan to medium-low heat, and continue warming, whisking constantly, until it reaches 165°F. Once at temperature, immediately remove it from the heat.
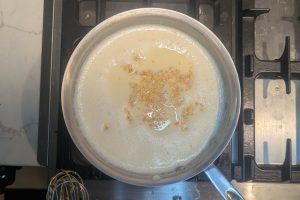
- Stir in 6 g blood orange zest, cover, and let steep (off the heat!) for 10 minutes.
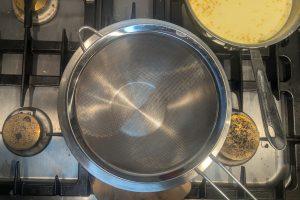
- Meanwhile, set a fine-mesh sieve over the smaller bowl you set aside for the ice bath.
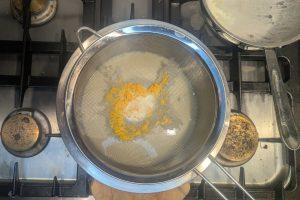
- Once steeped, strain the hot custard into the bowl.
- Place the bowl into the ice bath and whisk often for about 15 minutes, or until the custard reaches about 75°F.
- Add 60 g blood orange juice to the custard and whisk to combine.
- Cover the bowl with plastic wrap and place it in the refrigerator for 4-6 hours, or overnight, to age and chill.
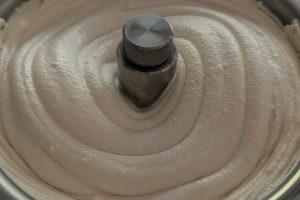
- Once the custard has chilled, pre-chill your ice cream maker according to the instructions. Pour in the custard with the machine running. Allow the custard to churn according to the machine's instructions. This will take anywhere from 20-45 minutes, depending on the machine.
- Scoop the ice cream into pints with wax paper pressed onto the surface to prevent ice crystals, and set in the freezer for at least 4 hours, or overnight, to fully set and age.
Notes
- You can swap the guar gum for your favorite stabilizer or stabilizer blend, or leave it out completely. If leaving it out, consider adding an extra egg yolk.
- Whisk the guar gum into the sugar to prevent clumping.
- Get all of the ingredients measured out, and set up your ice bath before you start cooking!
- If you don’t have a thermometer (get one!), the milk will start to steam when it’s close to 110°F, and the custard will coat the back of a spoon when it’s close to 165°F.
- Strain the custard after cooking to remove any egg bits, and also to remove the orange zest for a creamier texture.
- Let the base rest in the fridge overnight to thoroughly chill and develop flavor. It will churn faster.
- Pre-chill your compressor for 10 minutes for a faster churn.
- This ice cream has the best texture after an overnight hardening in the freezer.
